Monday 28 March 2011

Icequeen inspired-Beautiful Blue's

Hello!
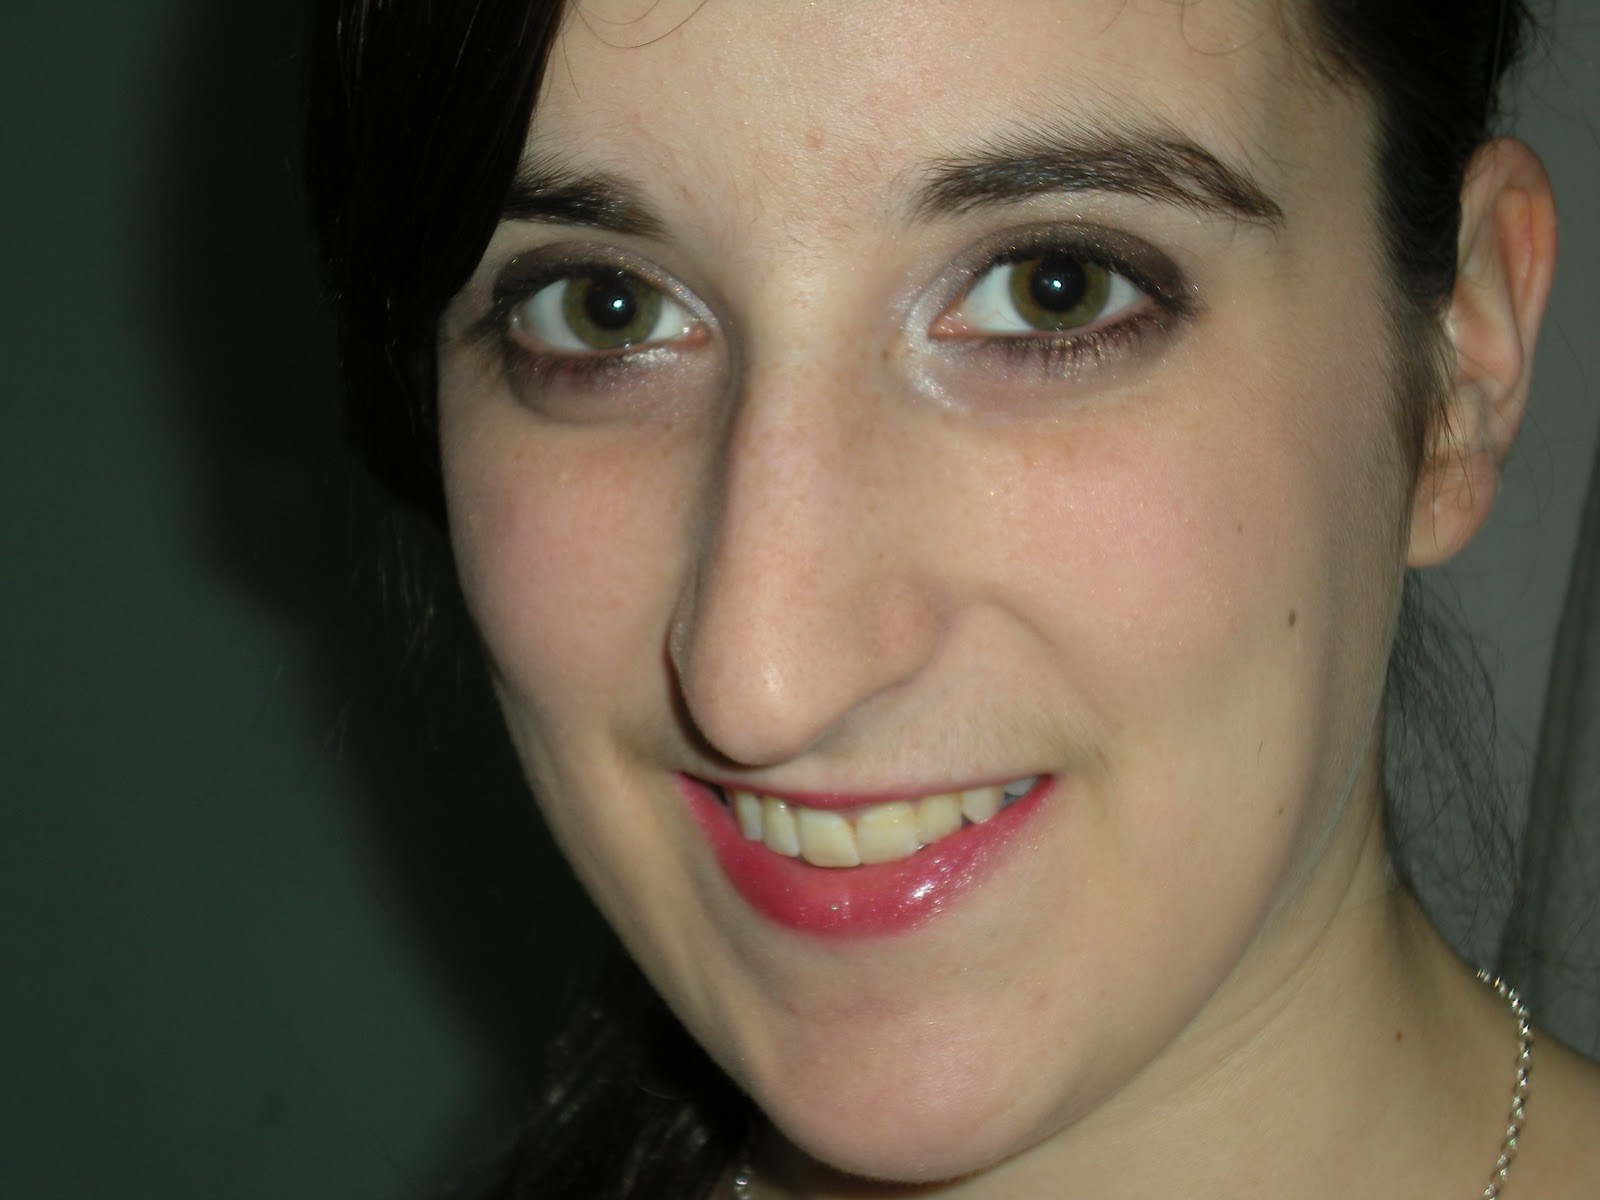
For some strange reason, this week has been "try something outragous" week. I'm not used to wearing deep, dark eye shadows and I guess, this is partly due to the fact that I would like to make this blog more interesting with dramatic and challenging looks.
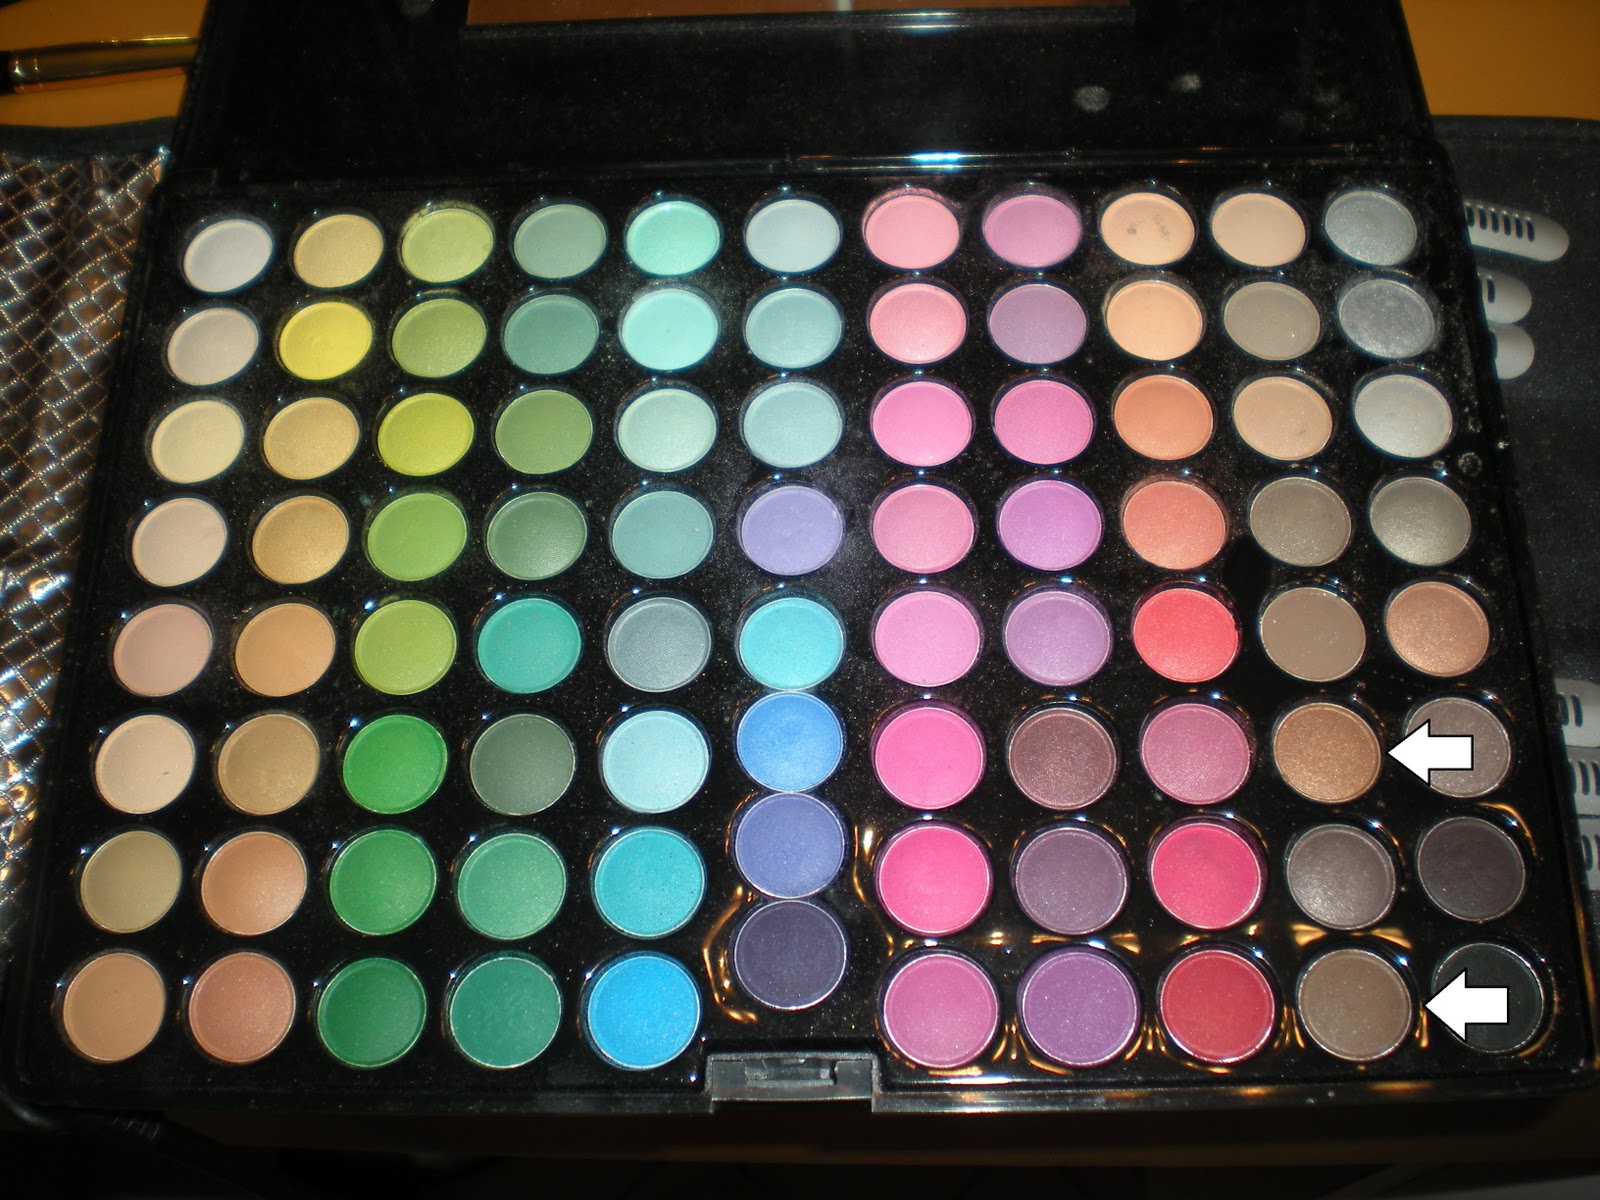
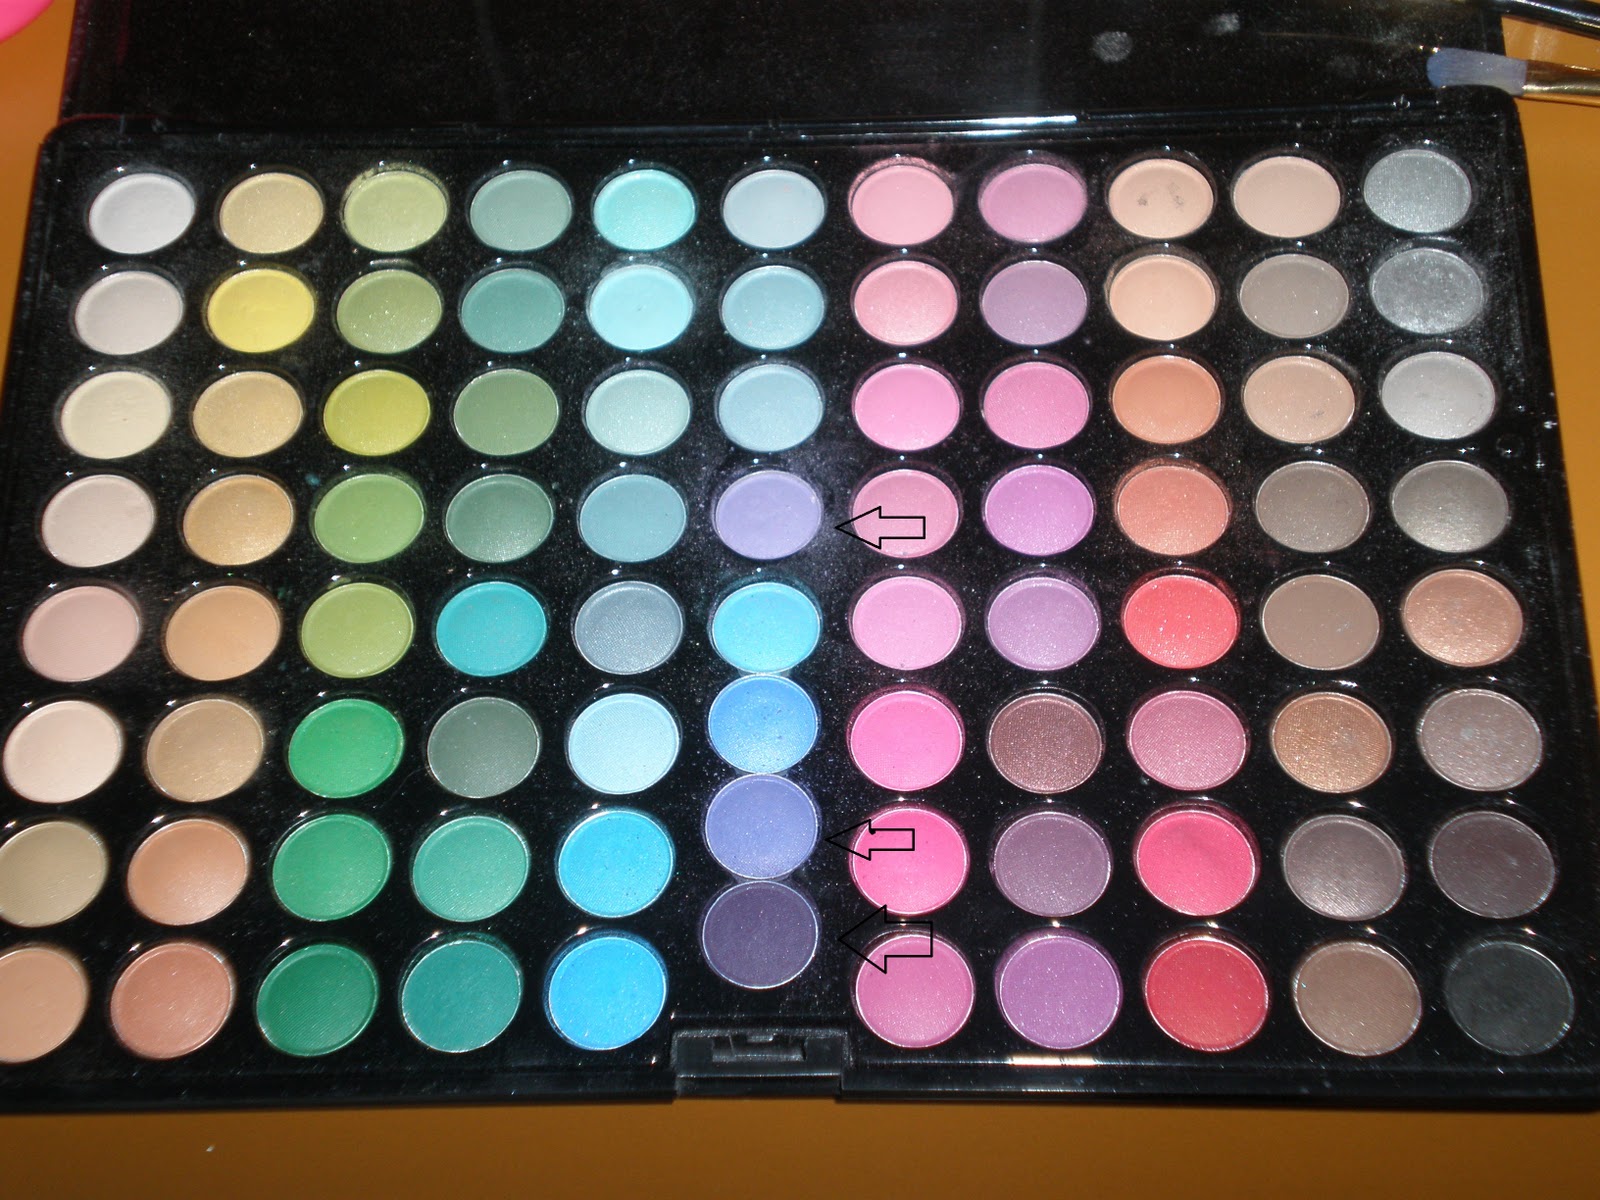
This one in particular is no exception! I had dancing one night this week and wanted to test out the pretty blues I have from my coastal scents 88 matte palette. I didn't want this look to be a matte look, however, so I applied some shimmer on top! Layering eye shadow makes the colour really stand out.
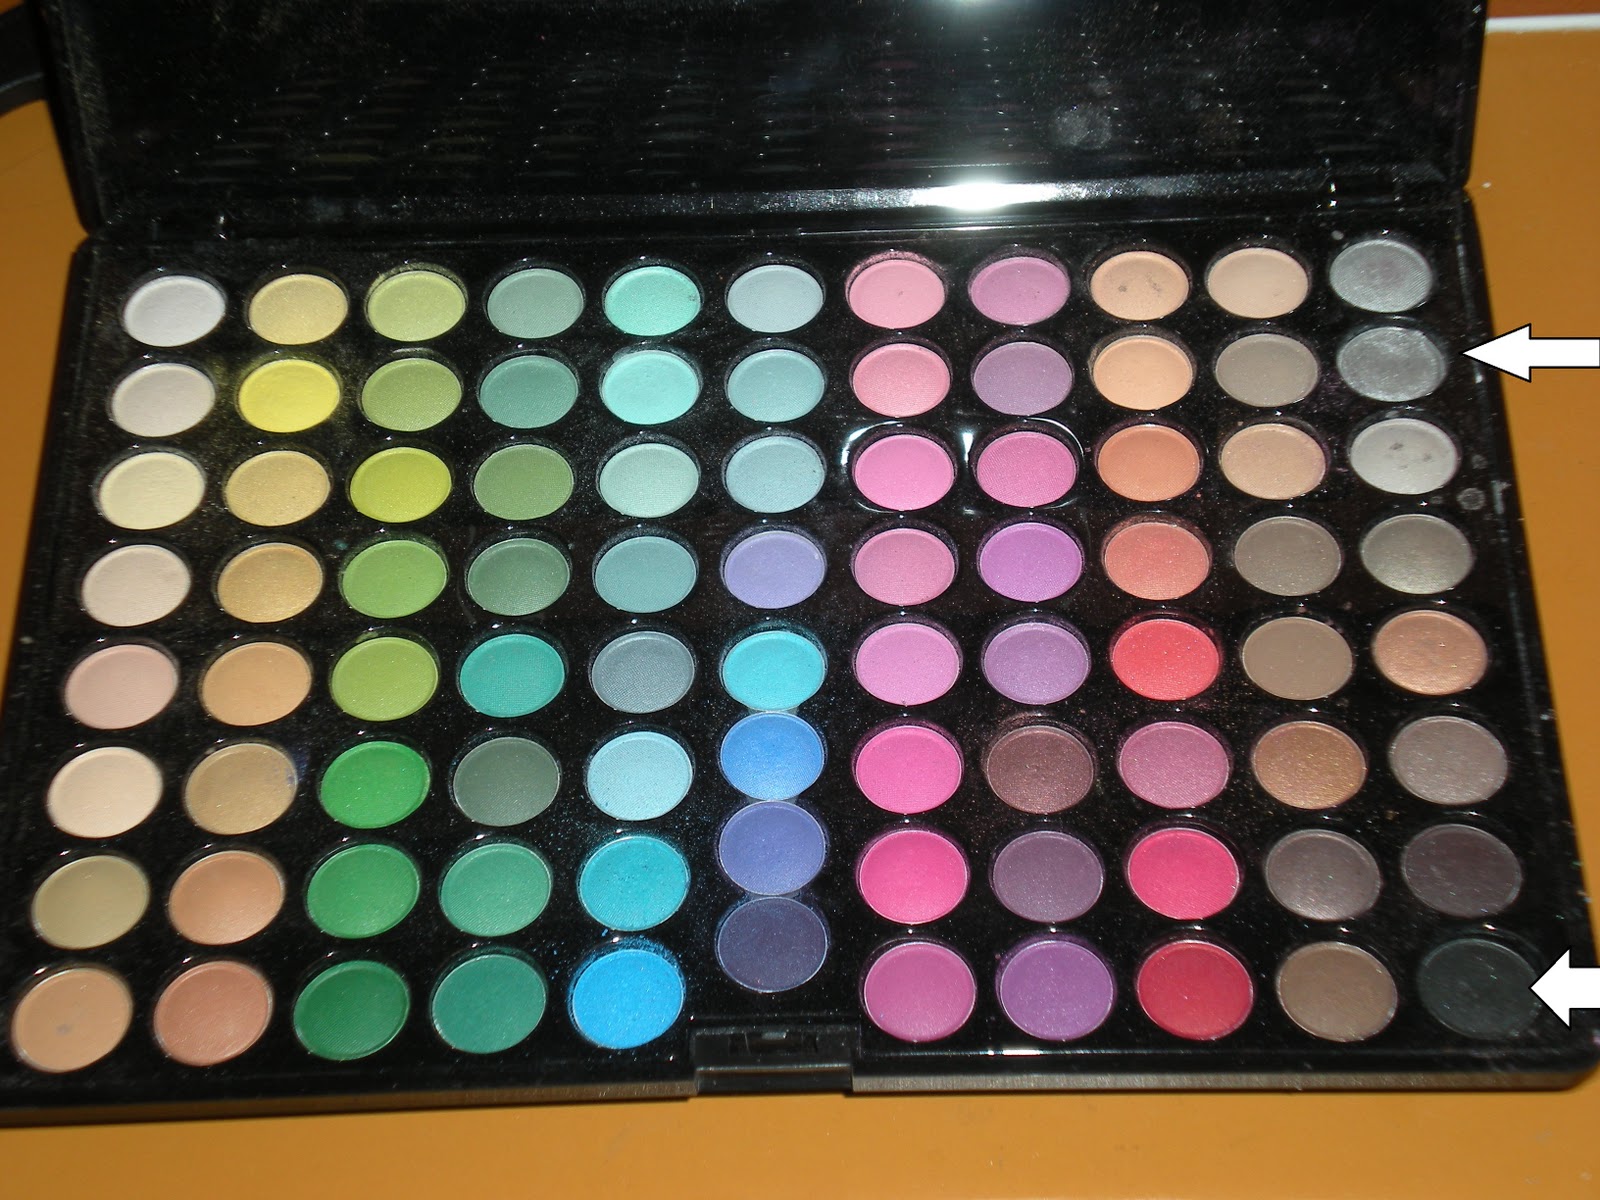
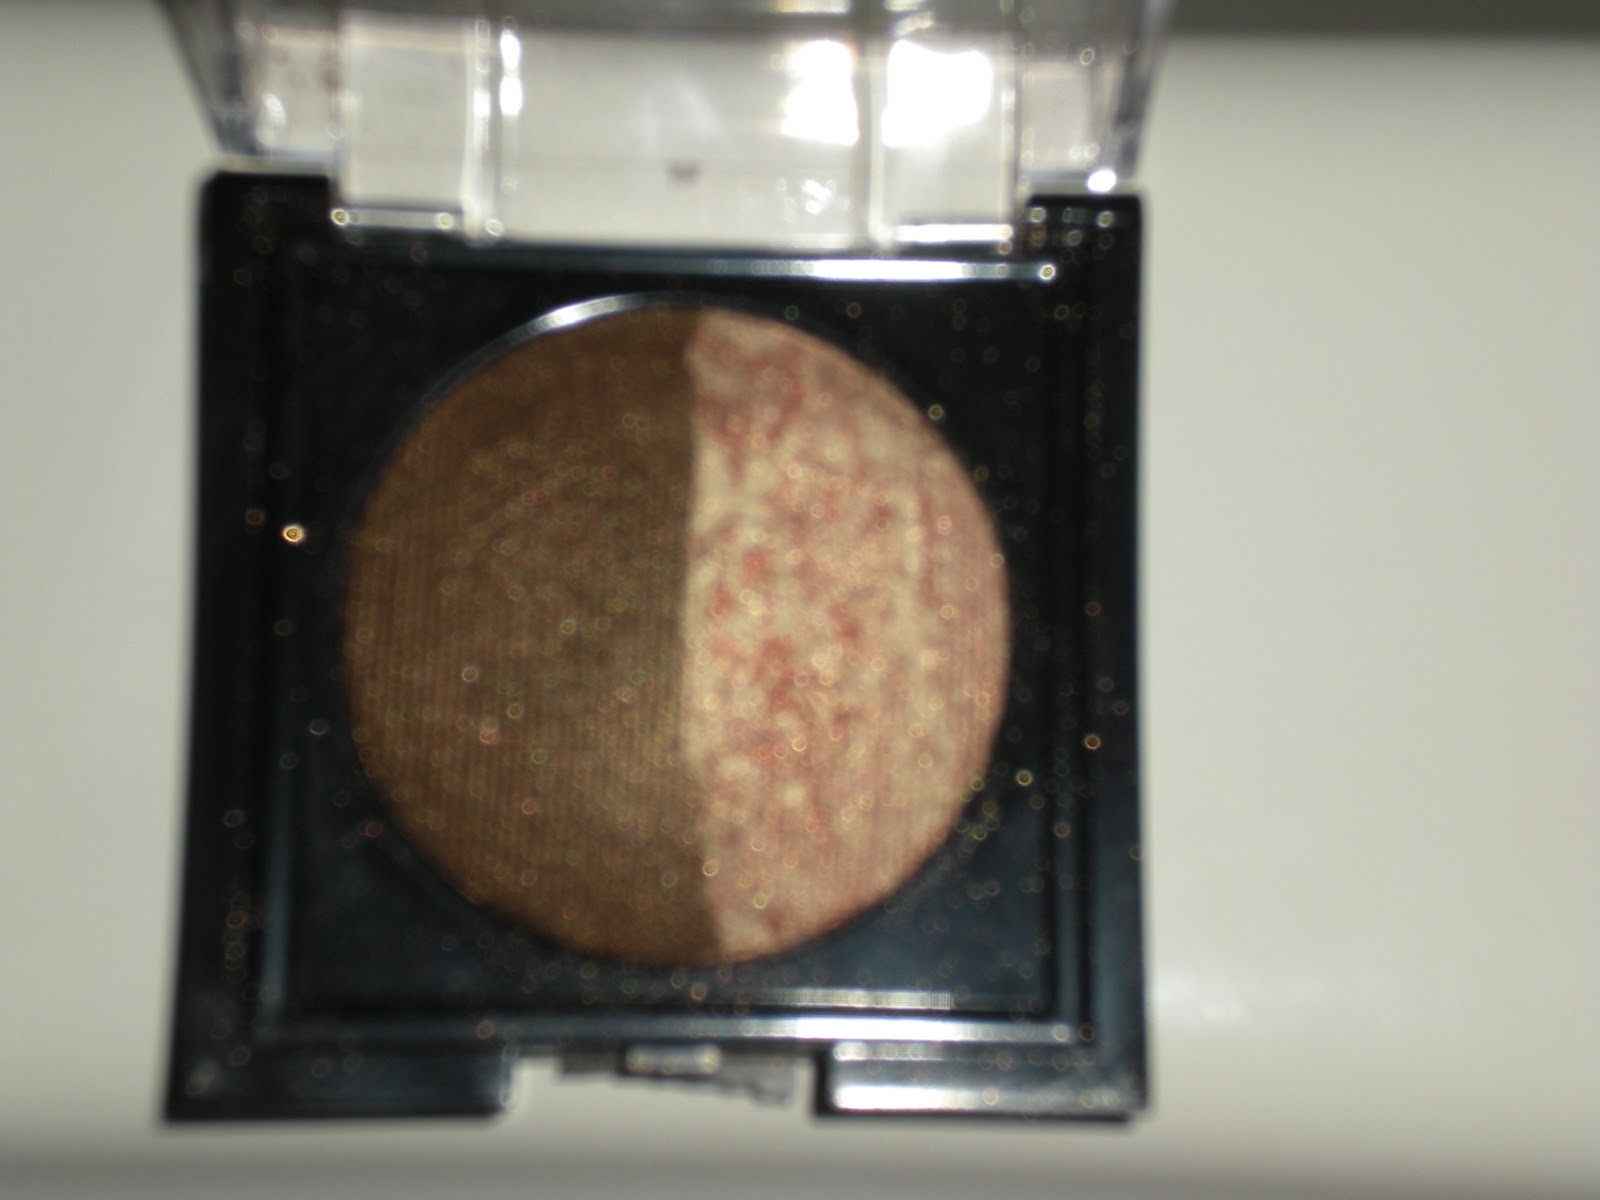
Here are the colours I used...

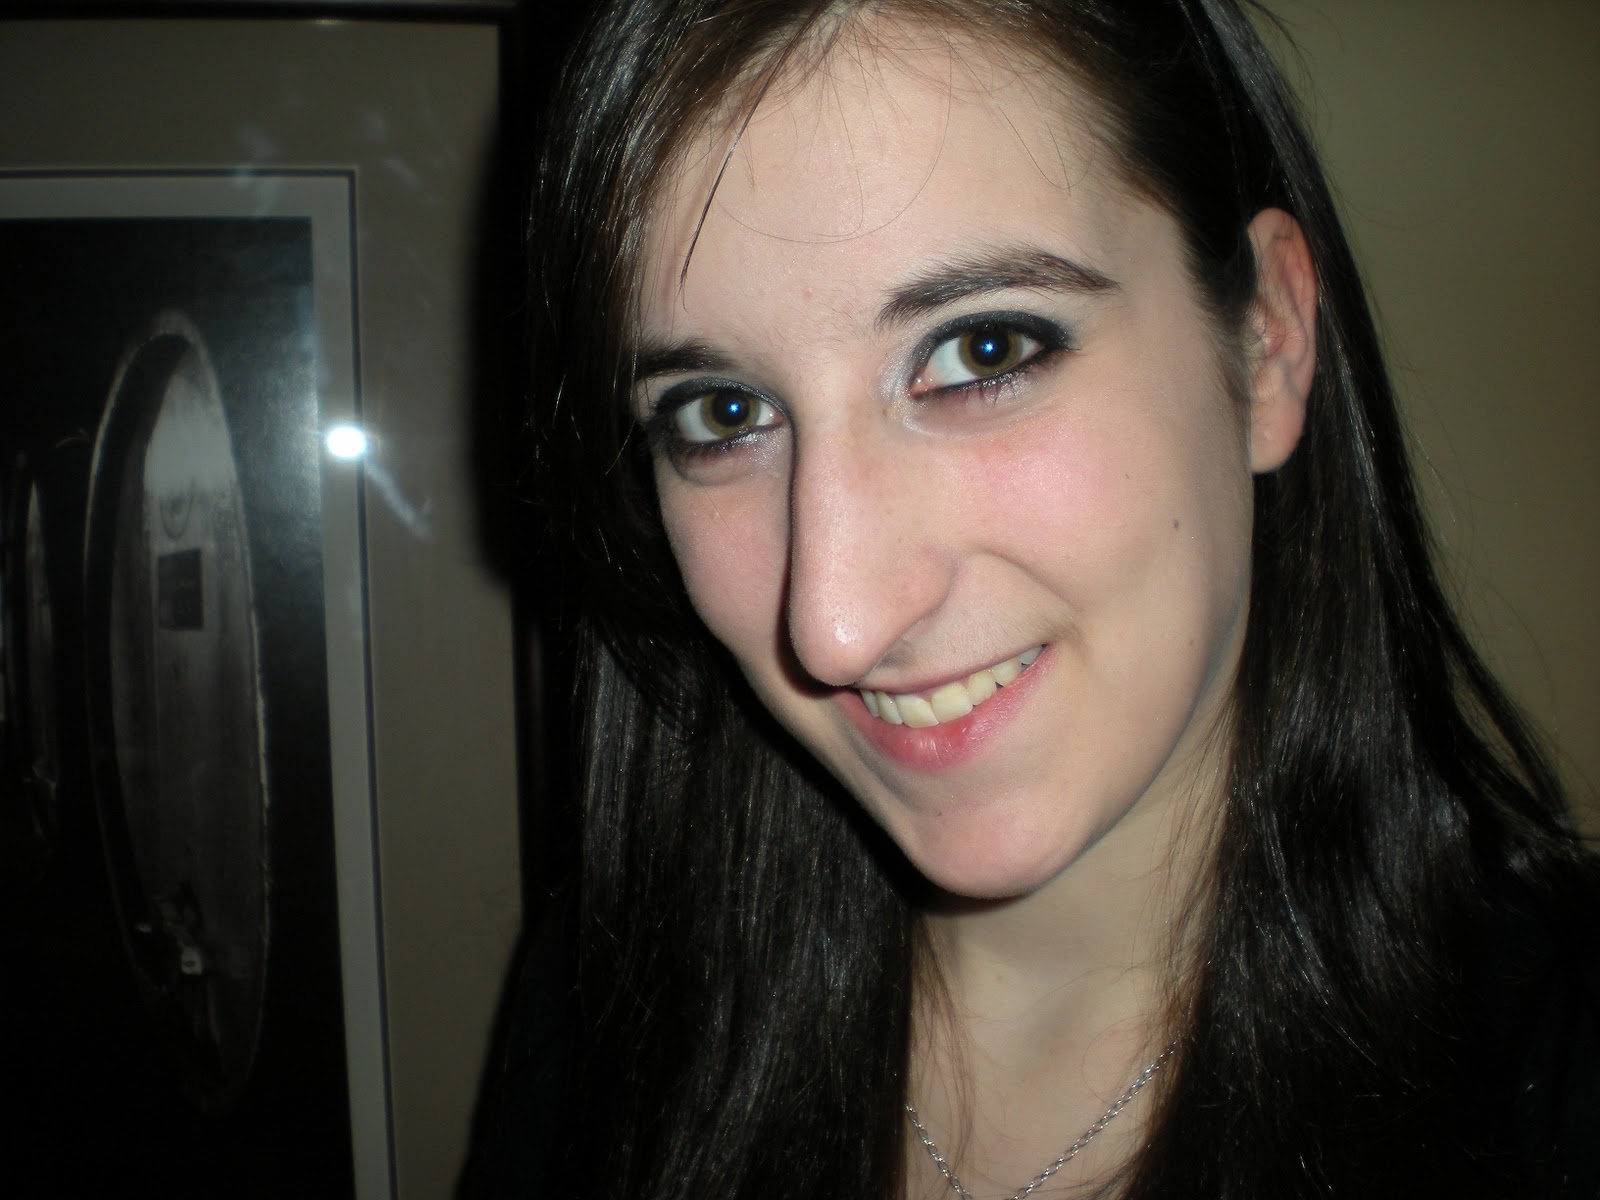
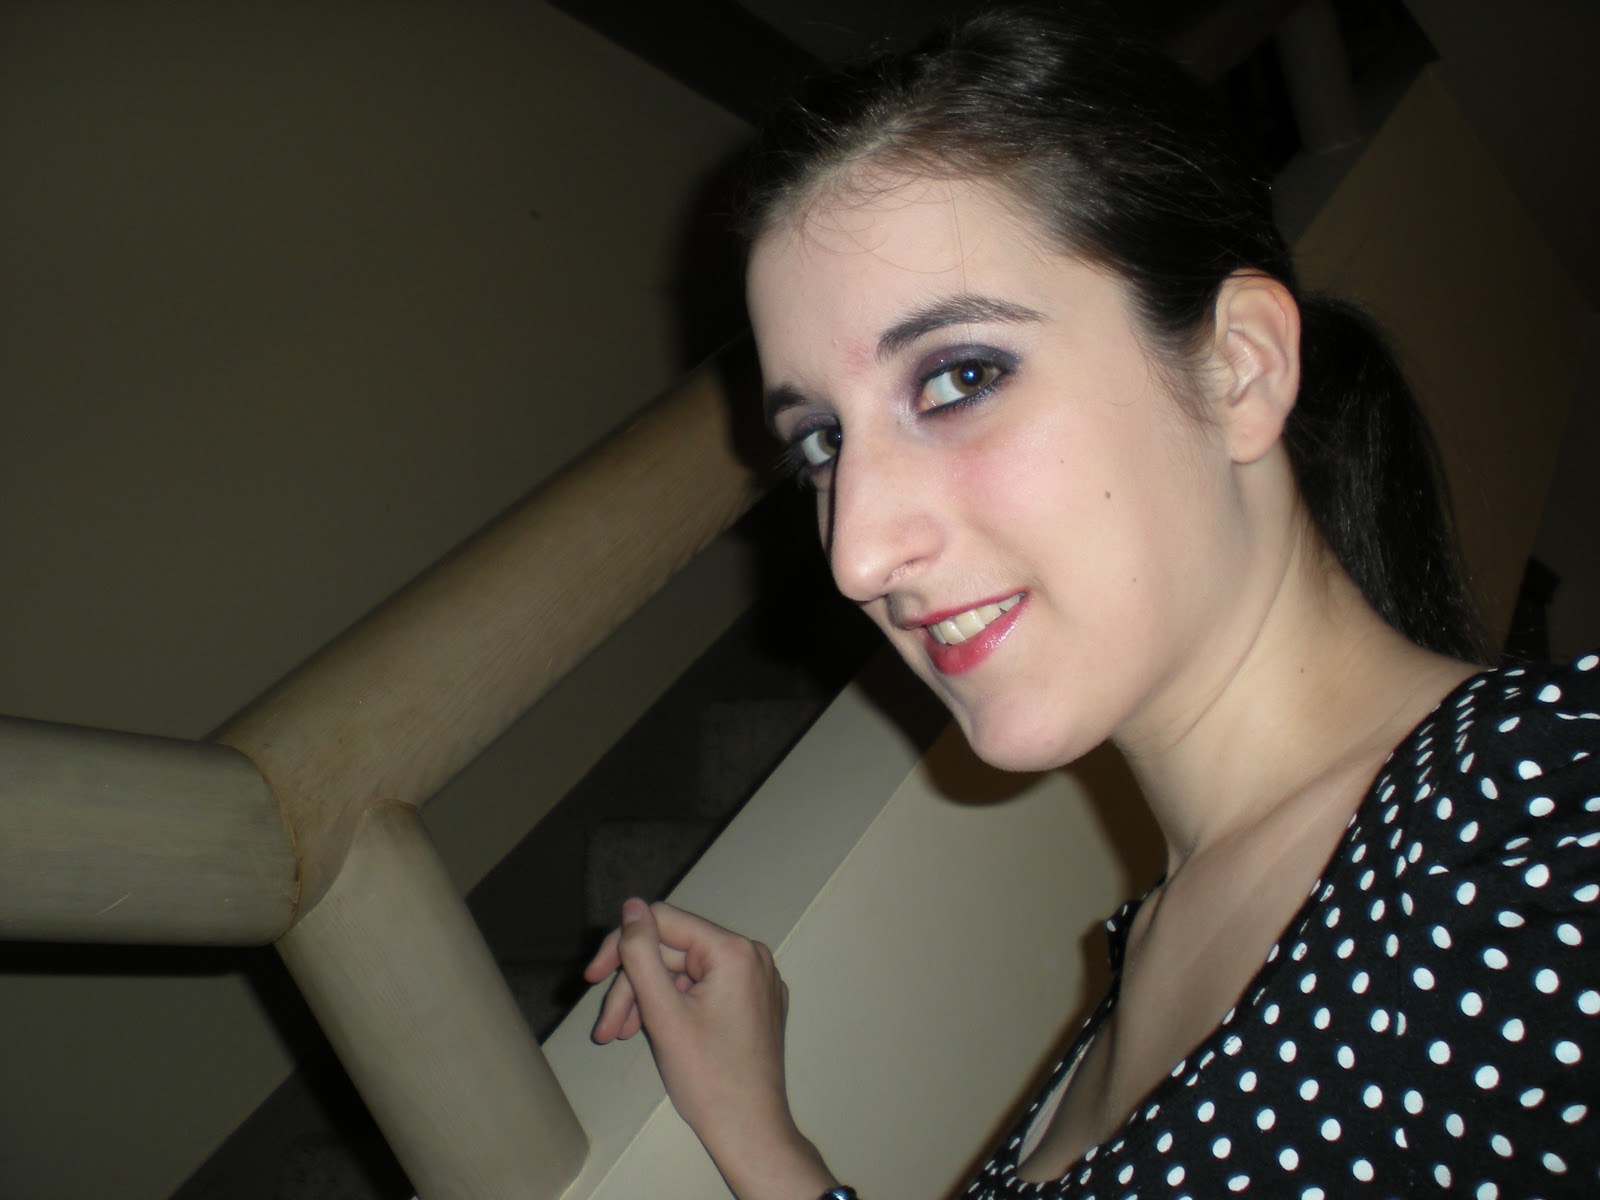
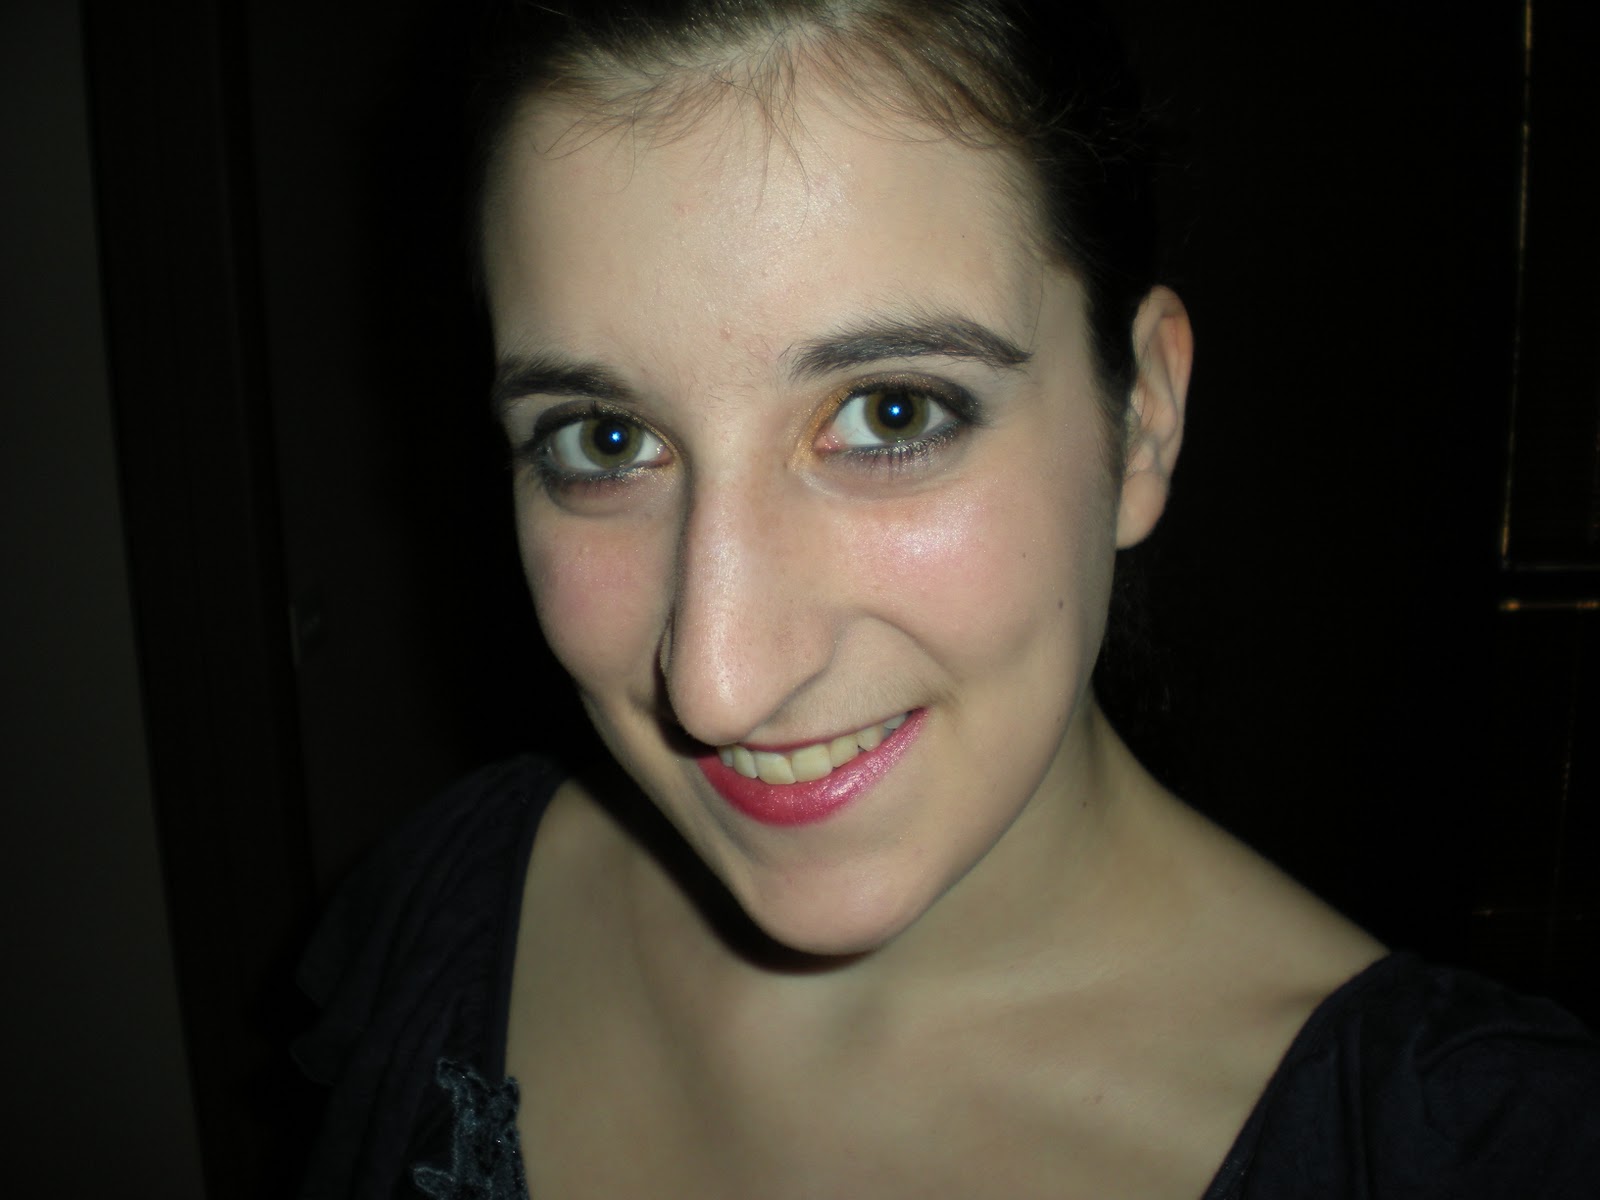
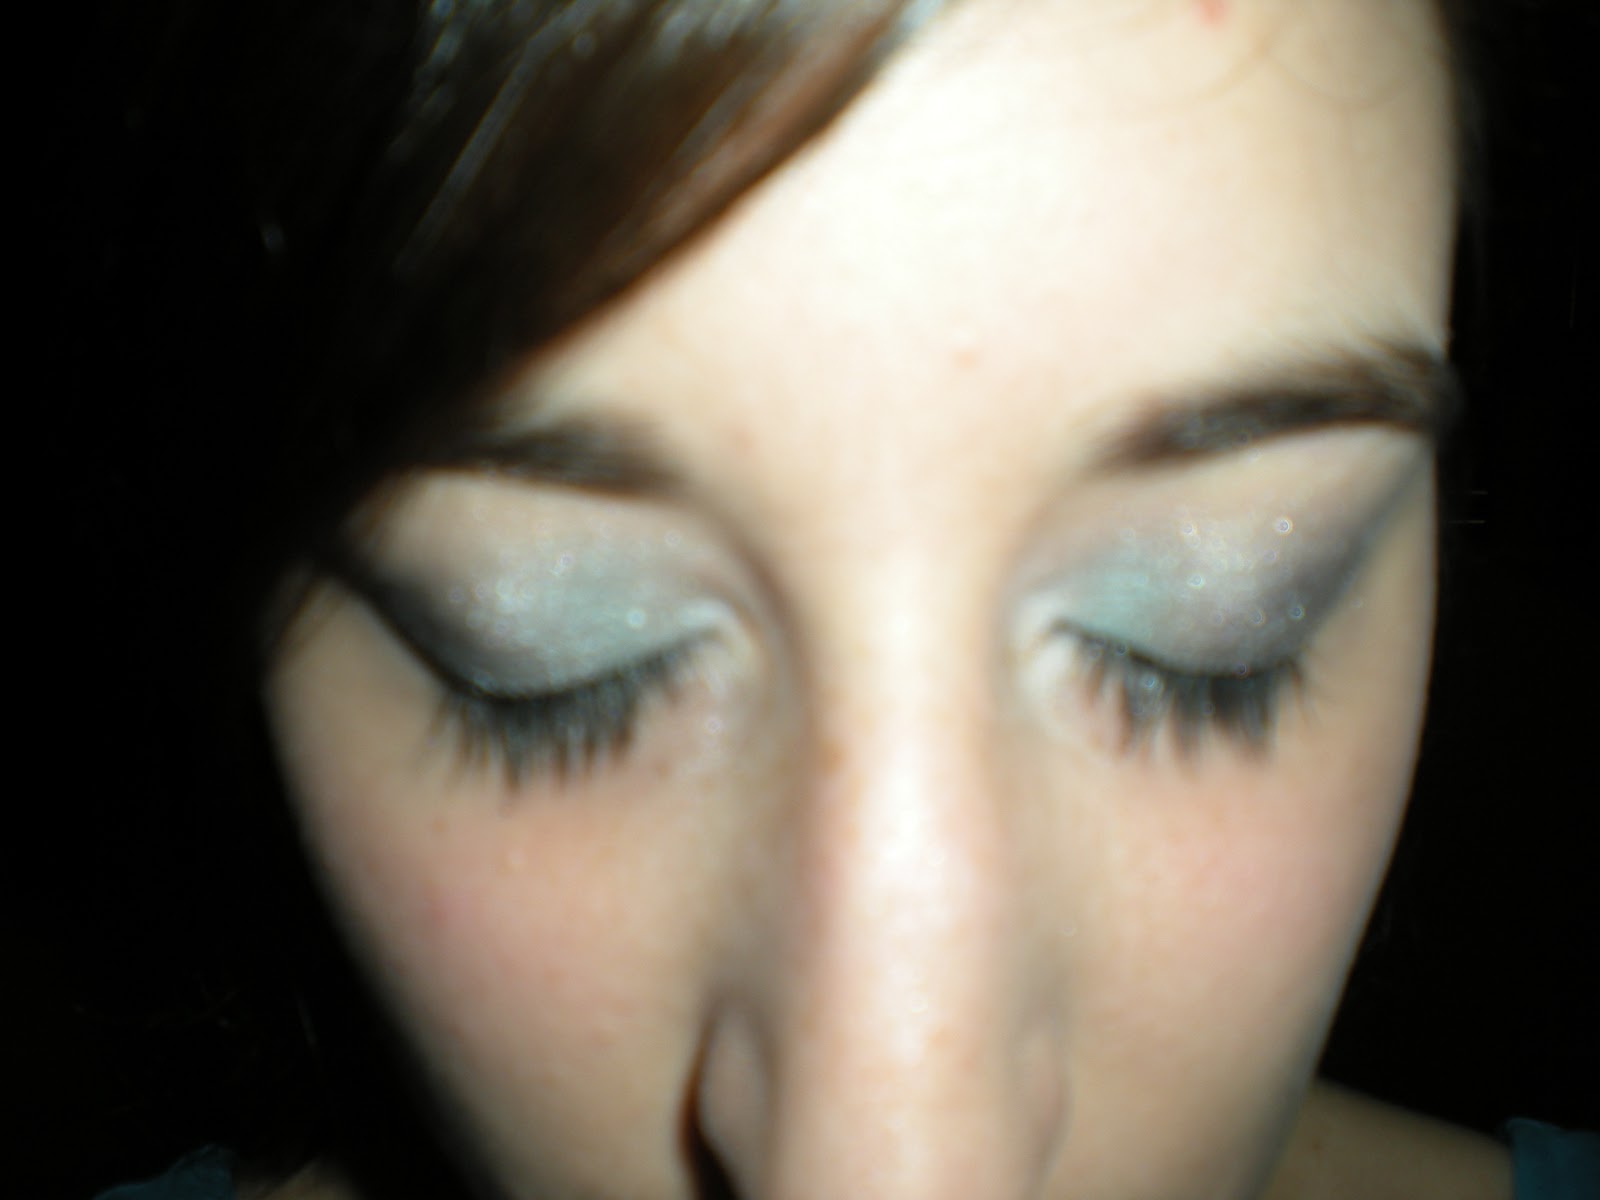
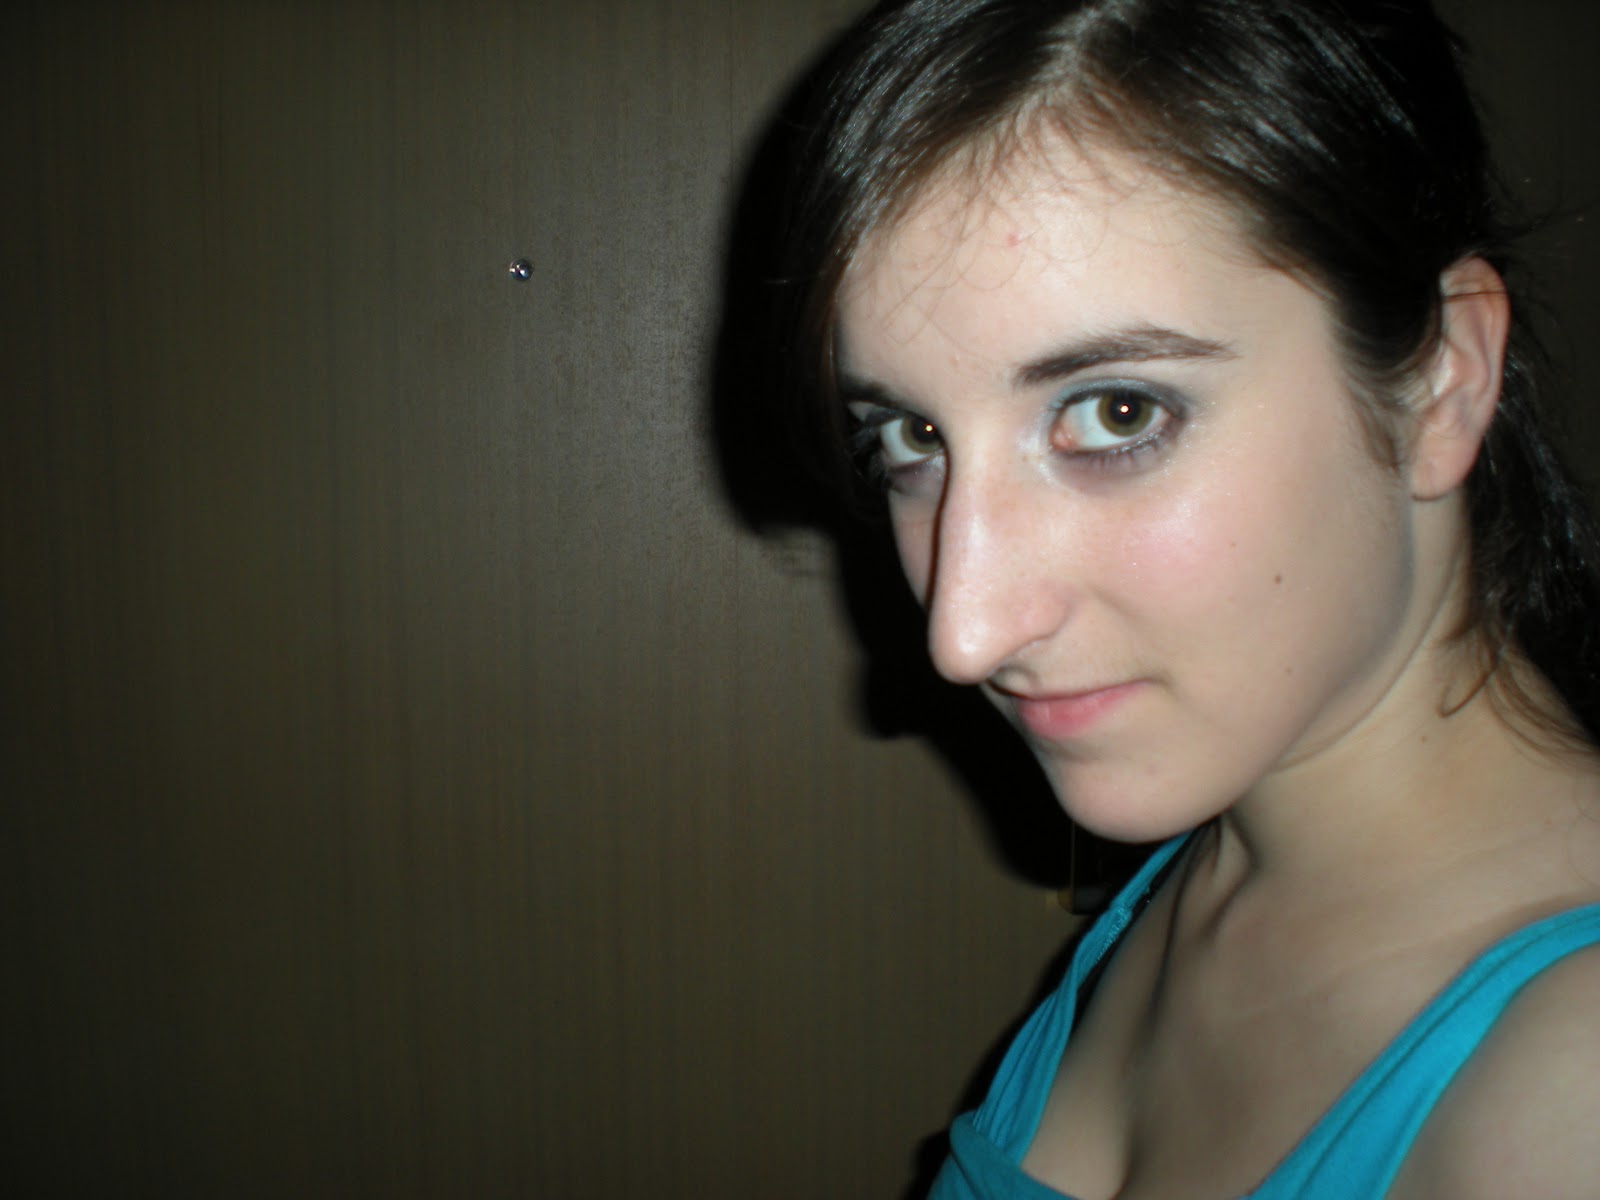
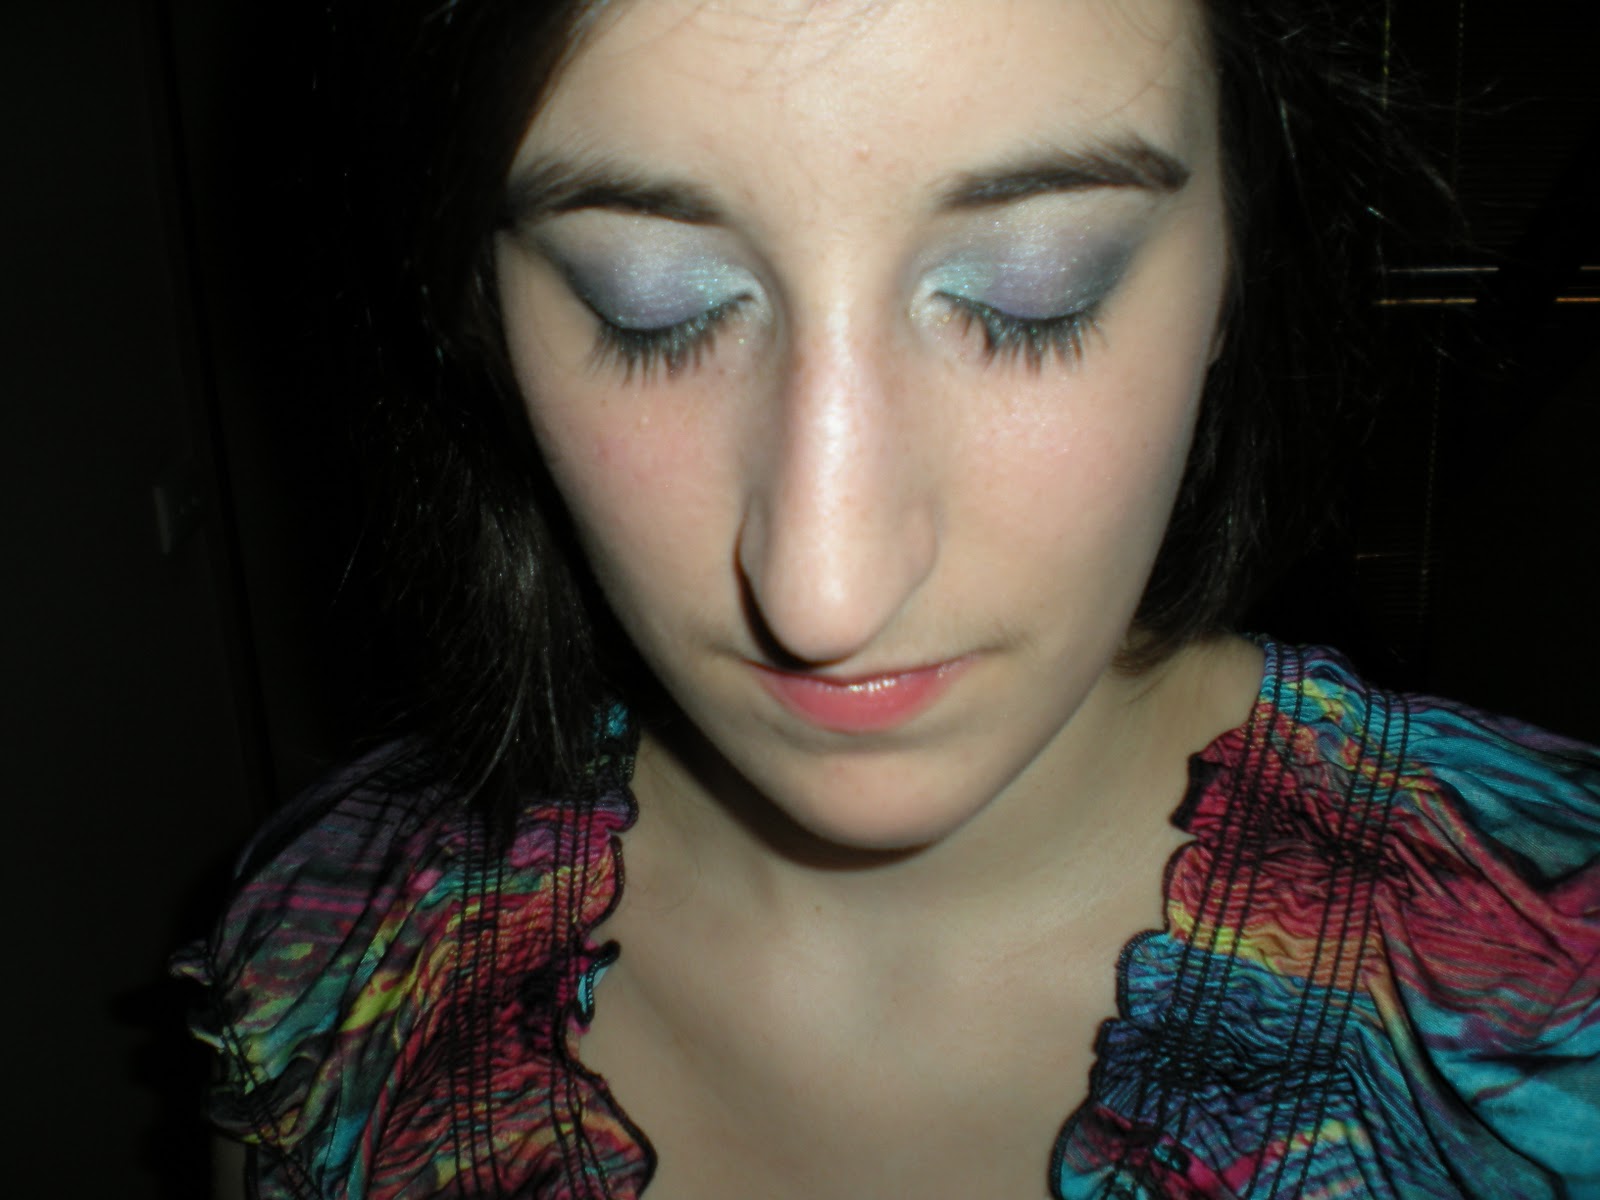
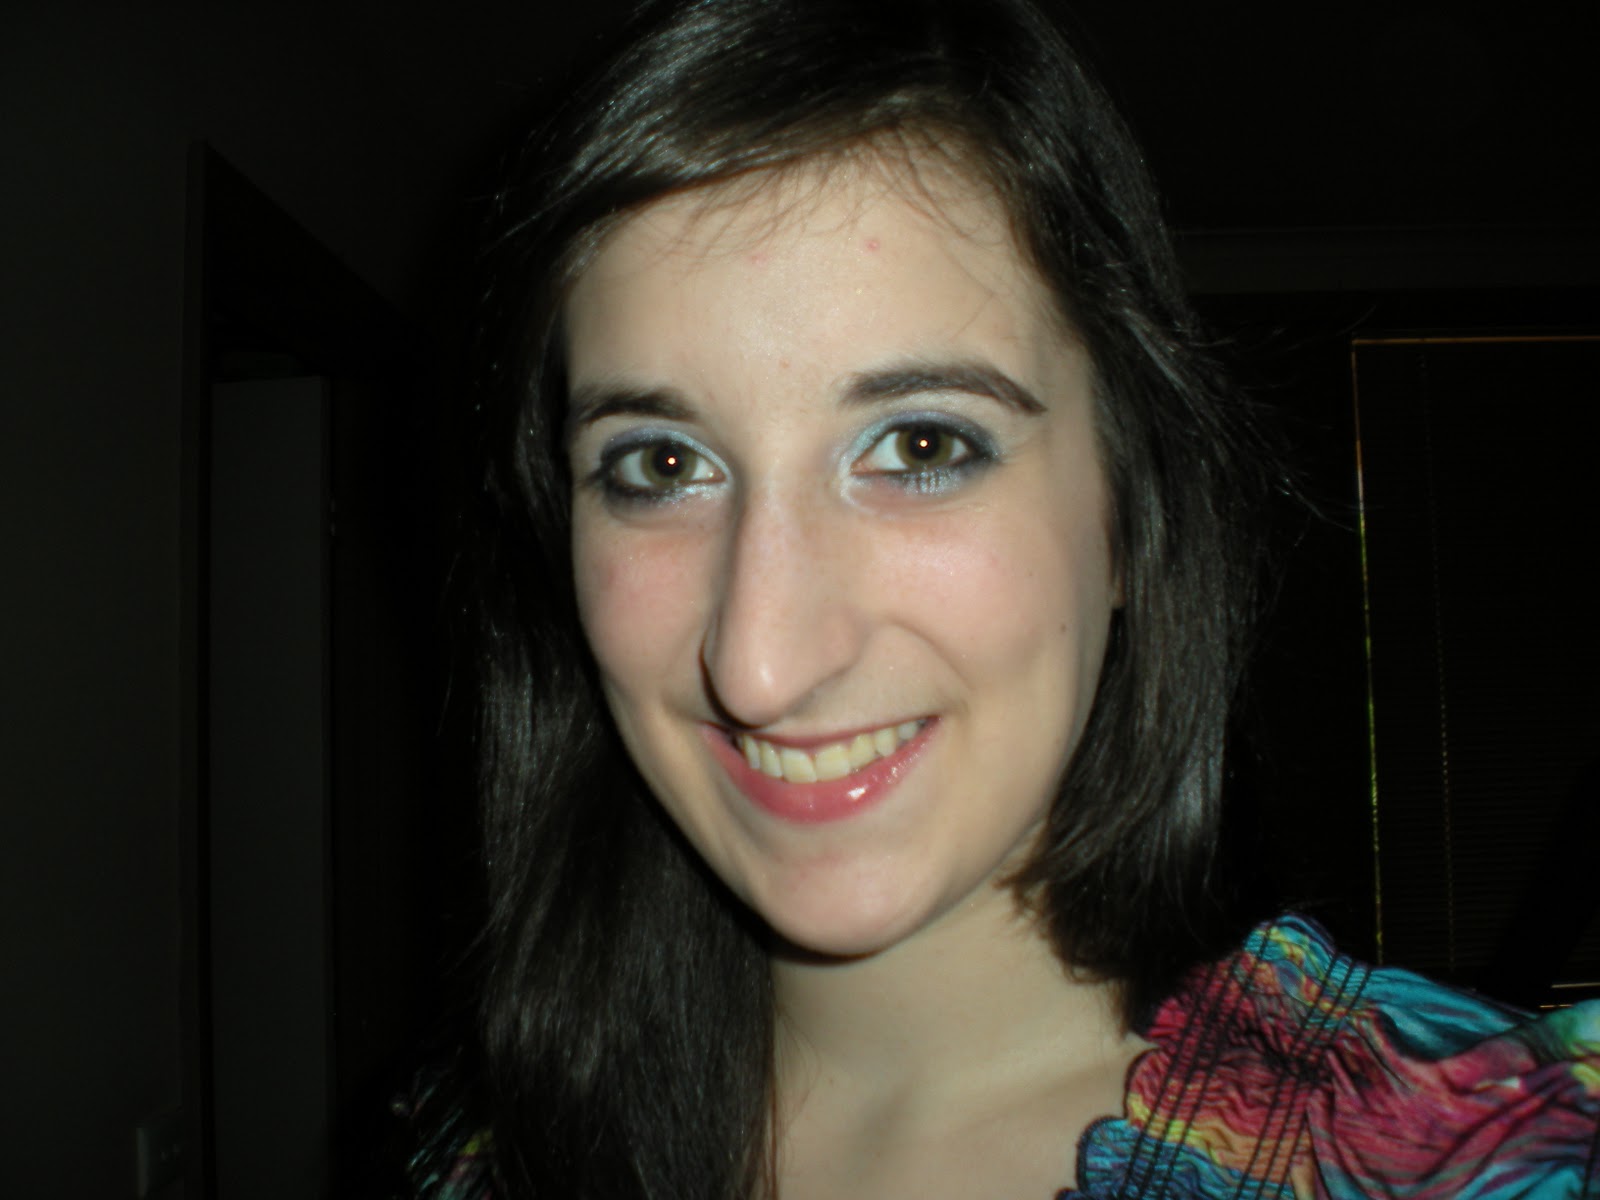
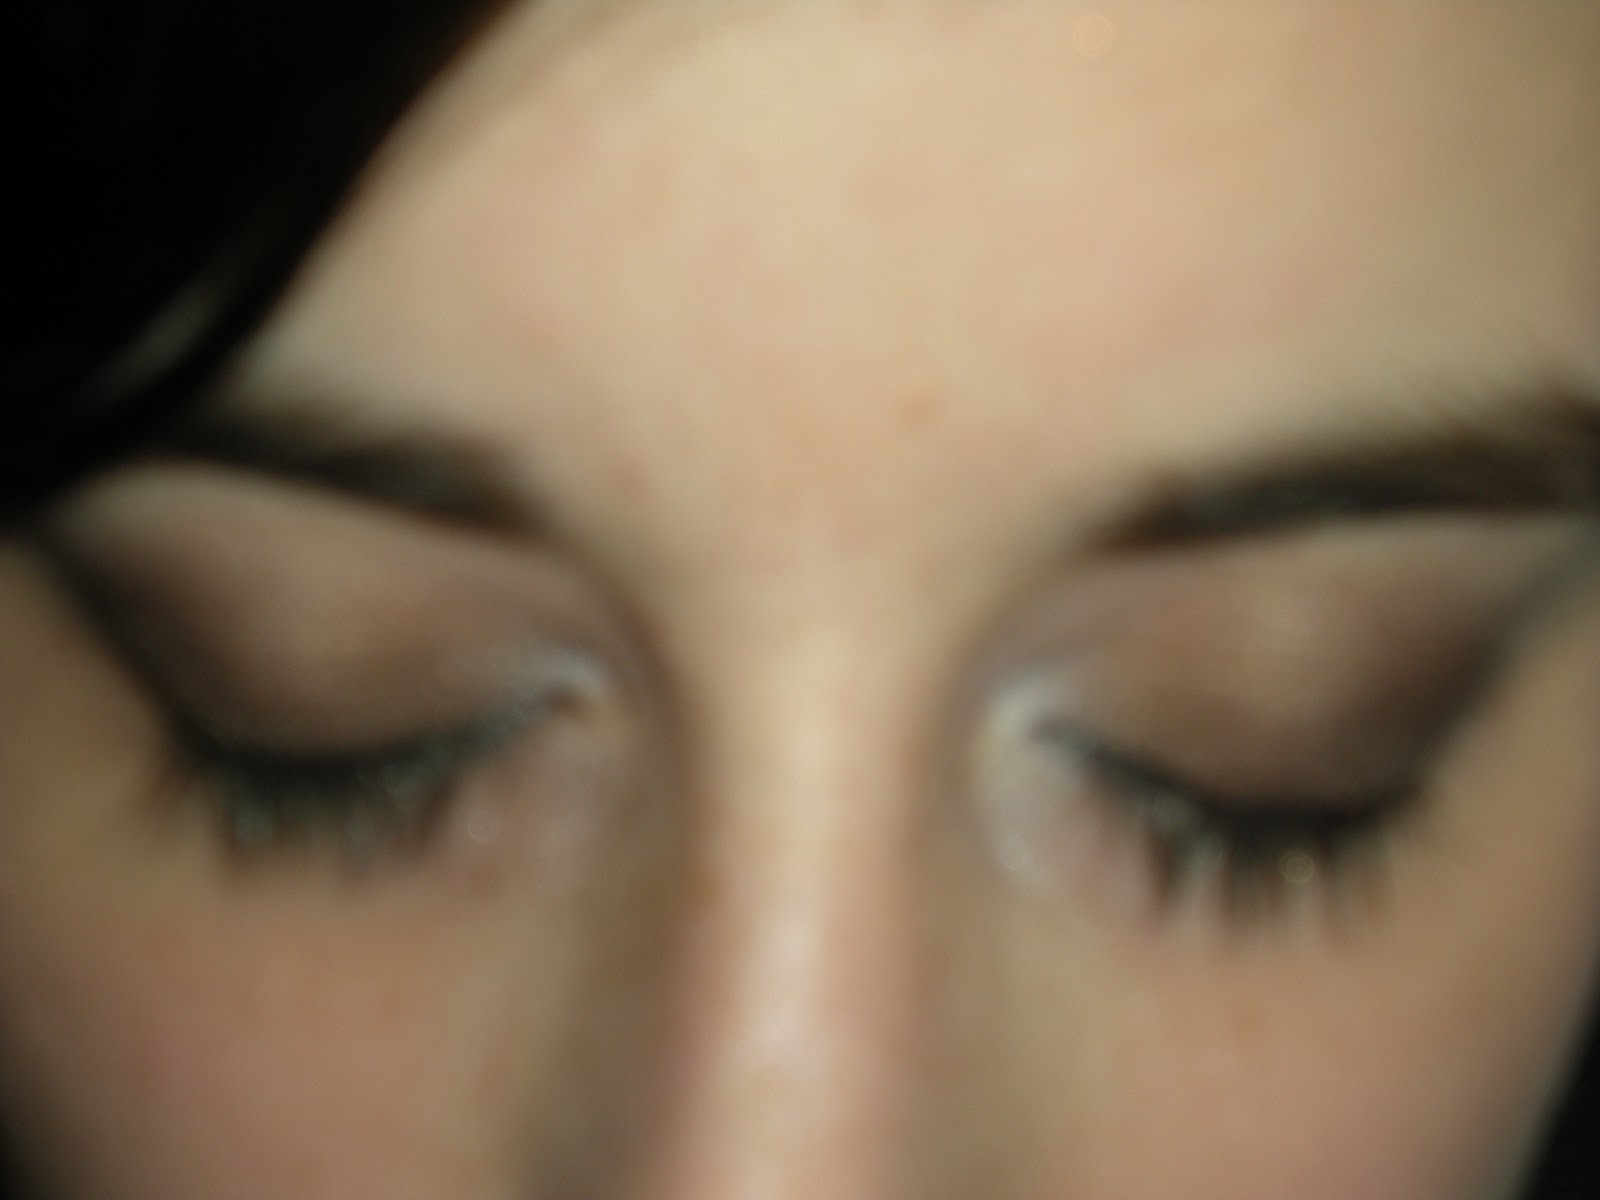
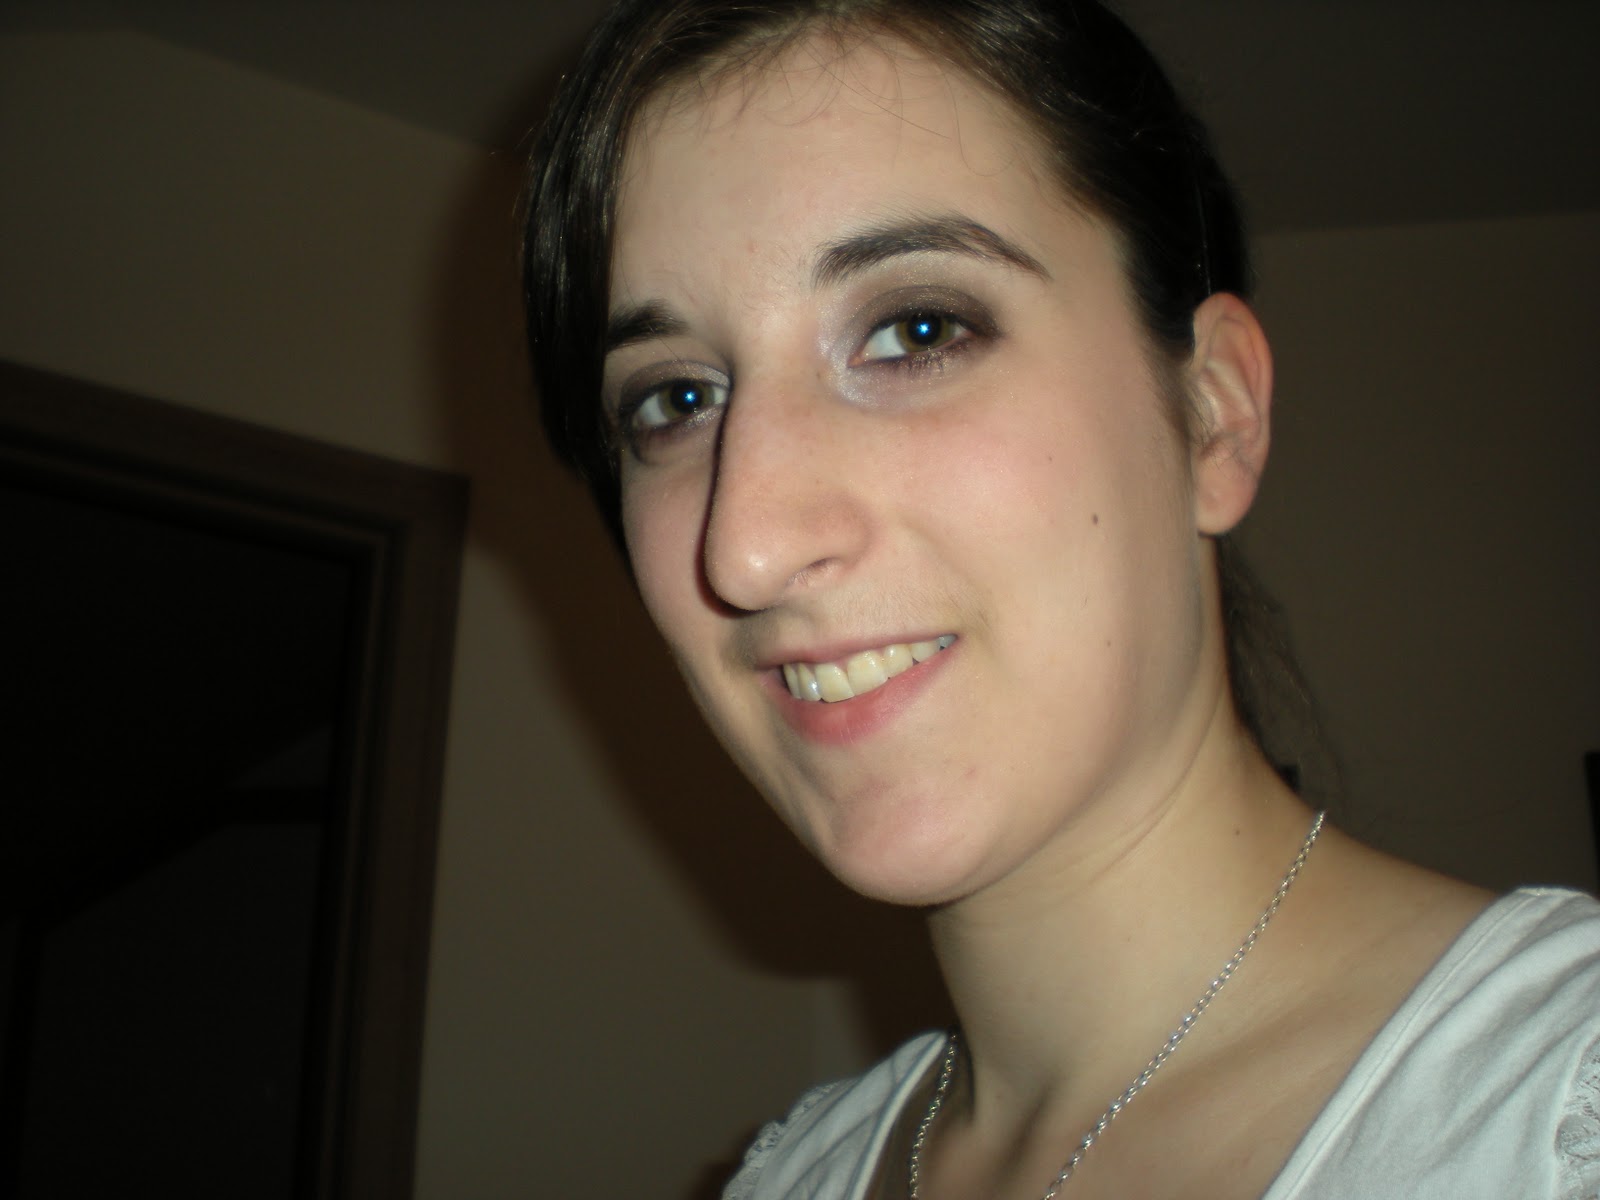
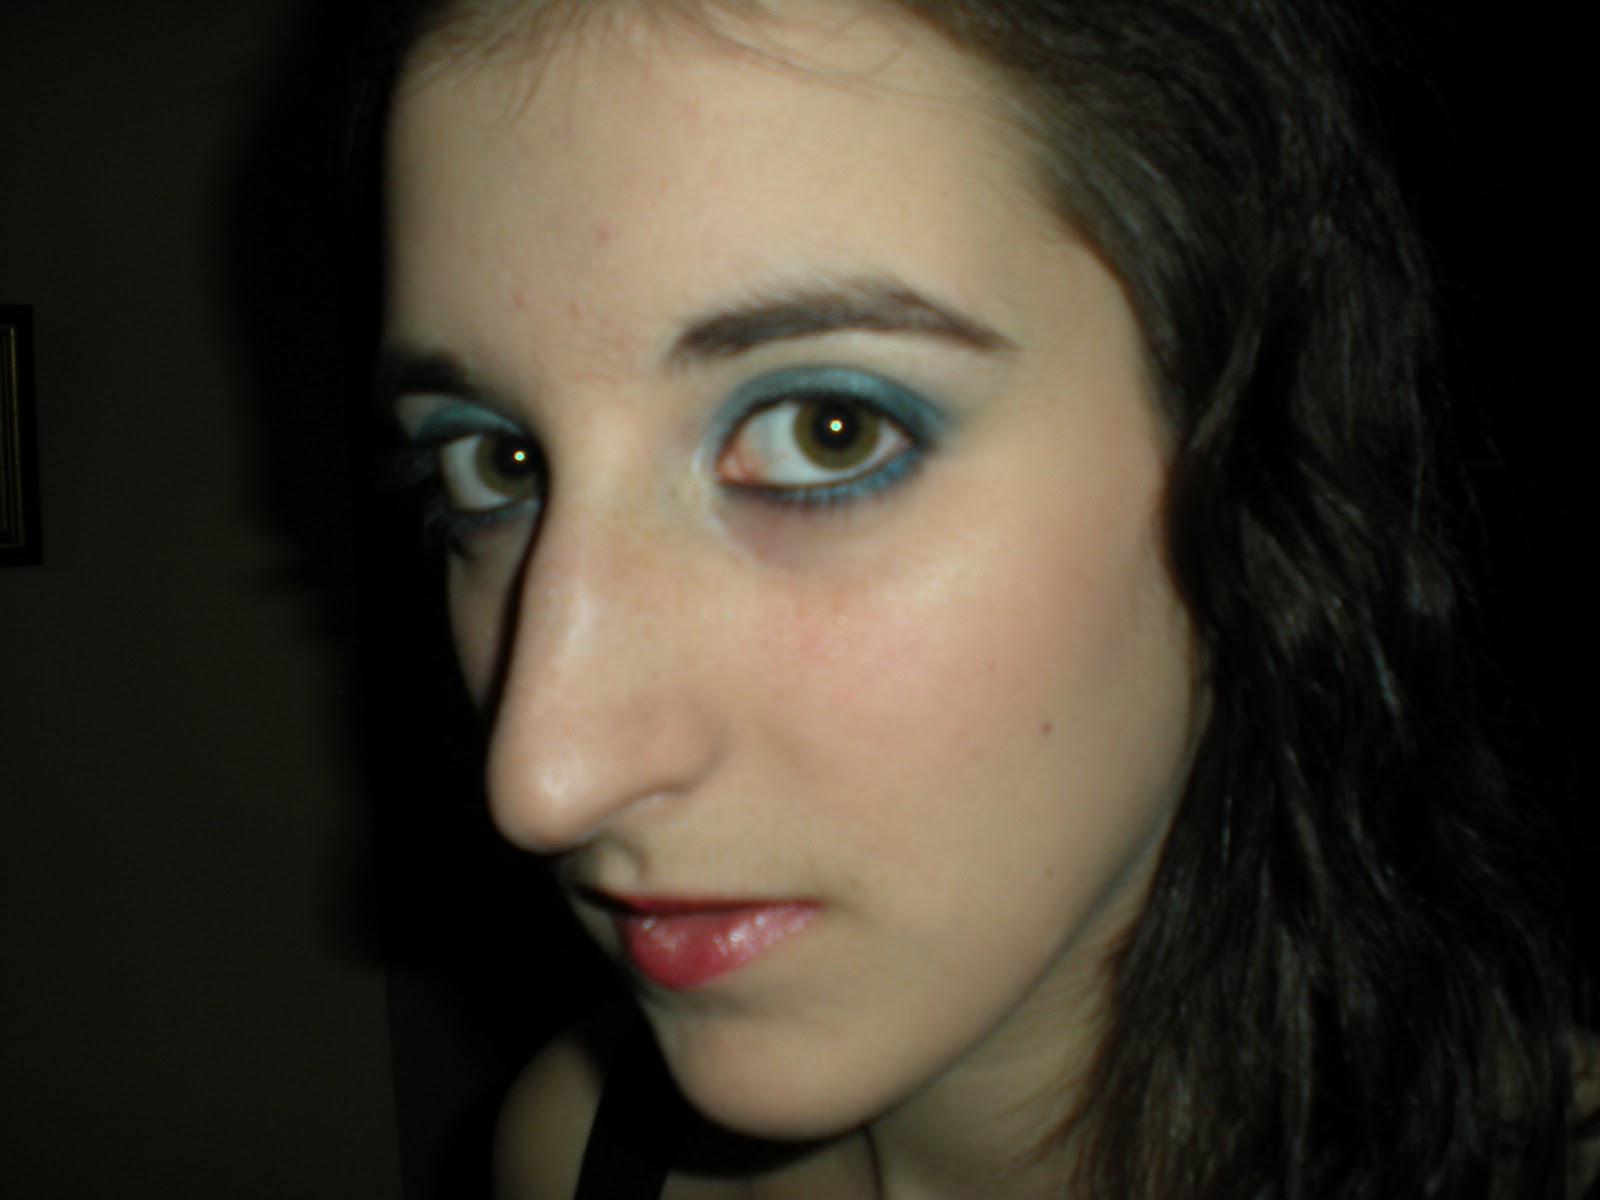
And...this is how it turned out!!


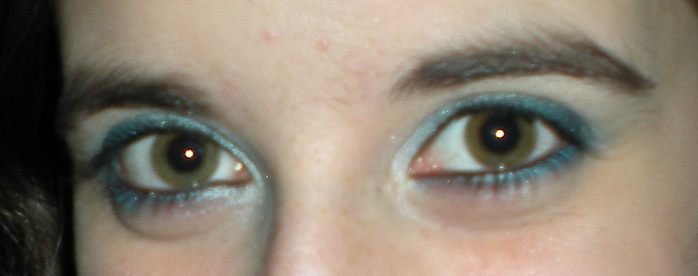
The steps I used to create this look...

1. Apply your base/primer. I used Mac paint pot in "Painterly". The colour of this paint pot does not affect the colours when you're applying them...thankfully!

2. Pick a light blue colour and apply this all over the lid. (I only do this because I'm lazy and can't be bothered being precise. This won't change the darker colours that will be applied later on)

3. Pick a darker blue shade and apply this on the centre of your lids.

4. Pick the darkest blue in your collection (avoid navy blue's though!) and apply this on the outer corner. I like to flick the brush towards my nose, rather than outwards, towards my hair. I avoid fall outs this way.

5. Blend all colours together.

6. Apply your highlight colour to your brow bone and near the tear duct. Silver or white will work well. I used white.

7. Using the white/silver colour, line the inner part of the lower lash line, then continue along the eye with each blue colour, depending where you placed them on your eye.

8. This step is optional. Apply a shimmery blue and darker blue on the inner and outer corner of the eye, respectively. Blend these colours together.

9. Line your upper lash line and water line with black eye liner. If you want this look to be less dramatic then line your waterline with white eyeliner instead or skip this step.

10. Apply mascara and you're done!


If anyone is curious, I do not have natural wavy hair (I wish!) It took about 15 minutes to do with a straightener. If anyone is interested to find out how I did it, let me know and I can do a tutorial. :)
Thanks for reading and hope you all have a lovely day. :)
More to come so stay tuned!
Melissa xox

Saturday 26 March 2011

Traditional Smokey Eye

Hello!

First of all, I have a twitter account! So, if you would like to know when I update my blog, please follow me! mgmusic91
Back to makeup...

I had a 21st on the weekend and was wearing a cute black dress, so I thought it was a great opportunity to try the traditional black and silver smokey eye. I used my coastal scents matte palette and BYS diamond shadows, for that shimmery effect.

Here are the steps I took to complete this look: 

1. Apply your base. 

2. Apply the silver colour on the inner corner and the black matte colour on the outer corner. 

3. Blend these colours together with a blending brush. 

4. Using the BYS diamond shadow apply the silver and black over the matte colours and blend these together. 

5. Apply a white colour near the tear duct and on the brow bone, then blend. 

6. Take a eye liner brush, and line the lower lash line with the matte silver and black shadows. I find lining this area with the matte colours easier as the BYS shadows are more susceptible to fall out on the cheeks. 

7. Line your upper lash line and water line with black eye liner. 

8. Apply mascara and you're done! 


I hope you enjoyed this look, please let me know what you think, I appreciate your comments. :) There's plenty more to come, so stay tuned! 
Melissa xox 

Thursday 24 March 2011

Sultry and Sexy-Purple Smokey Eyes

Hello!
I was eager to try something daring and out of my comfort zone last week so I used the maybelline 'stylish smokers' range to achieve a purple smokey eye. I only used the colours in this palette. I really like this range of make up, as it provides instructions as to where to apply each colour. Super helpful for people who are still learning like me! I've had plenty of practise with this palette of four colours and you can tell from the pictures that I have used the white in particular many times!

The instructions on the palette:
Purple top left: lids
Dark purple top right: crease
White: brow bone
Black: outer corner

It's as easy as that!!


I won't be providing a description as to how I achieved this look, as I just followed the instructions on the palette. :) In terms of additional steps...
Liner-I just applied black eye liner on my upper lash line and waterline. In the past, I have used purple eye liner, which has also worked well.
Lips-pink or nude lips will look lovely with these eyes.


I hope enjoy the photos and let me know what you think. :)

More to come so stay tuned! 
Melissa xox

Tuesday 22 March 2011

Brown and Golds=Awesome!

Hello!
I had a bit of time on my hands last week and I continued to think about a particular look my friends and I decided on trying at our girls day (see last blog post). I was wondering if those colours would suit me. Out of all the looks I've posted so far, you can probably tell that I'm not really into pinks, as I don't believe that pink and the green/hazel colour of my eyes work together. My complexion is also quite pale and I feel like I have a cooler skin complexion, thus blues and purples suit me better than pinks and oranges. (I hope that makes sense...it does in my head. :P) I was pretty certain that this look would suit my eye colour as I do love bronzed looks. This eye was a little bit different to a bronzed eye,  as a light blue shimmery liner was applied to the waterline. So pretty!

Here are the steps that I took to achieve this smokey look...

1. Apply your base or foundation to ensure the eye shadow lasts for as long as possible.

2. Apply a gold colour. This can be any gold. I started off with a yellow eye shadow and then built some gold on top of that. When blending it's obvious that the yellow colour is underneath it, as the gold fades out into yellow.

3. Using a light brown colour, apply this in the crease and blend the gold and brown together.


4. Using the same brown colour apply this to the outer corner of your eye...try not to go too far in, as you want the gold to be in the centre of your lids.

5. To create a more dramatic effect, apply a black eye shadow on a small portion of the outer corner and blend all colours together.

6. Apply black eye liner to the upper lash line.

7. Apply a light blue eye liner along the water line. If you don't have a blue eye liner, try using eye shadow.

8. Apply mascara and you're done!

If you look REALLY closely you can see the blue. I used eye shadow and it had a tendency to rub off really quickly! :(

In terms of lips, I just used a pink lip colour but nude will also work well...you don't want your lips to over power your eyes, so I always stick to natural looking lips. 

I hope you enjoy this look! Browns and golds are always fun to play with. Let me know what your favourite colours are, particularly when it comes to smokey eyes. :D 

More to come so stay tuned! 
Melissa xox

Thursday 17 March 2011

Girls Day...

Hello!
A few of my closest friends and I decided to test our make up skills by having a make up day! This was an opportunity to get together, play with each others vast collection and create different dramatic looks for each other. (We weren't going out so we thought the crazier the better!) It was so much fun to have a relaxing day in and enjoy each others company.  Thanks to my friend's amazing camera skills I have proof of our hard work from the day! Enjoy!!


Pretty Blue Eyes

Hello!
I think blue has to be my all time favourite colour. So, as you can imagine I love doing smokey blue looks for my eyes. I do ballroom dancing, so playing with new eye looks is always fun. It is considered, in the dancing world, "the bolder the better", so I often take advantage of this!

The look that I came up with is quite subtle but has the potential to be super dramatic! If you have liquid liner, don't be afraid to use it on your upper lash line, as it can create more definition to your eyes and make them stand out!

Here are the steps I took to create this look...
1. Apply your base, to ensure you make up lasts as long as possible (I have to do this when I go dancing, as sweat can often smudge my make up). If you don't have a base, liquid foundation is fine.

2. Apply a shimmery light blue colour to the eyes on the inner corner. Using a small angled brush (used for lining eyes), take this blue and apply it on the lower lash line.

3. Use a shimmery grey/silver colour and apply this on the outer corner. Once again, take your angled brush and apply this on the lower lash line.

4. Blend these colours together both on the lids and on the lower lash line.

5. I then used a white eye shadow and placed this near the tear duct. This step is optional as I like using white eye shadow to make my eyes appear more awake.

6. Line both the upper and lower lash line with black eye liner.

7. Apply mascara and you're done!


The following night, I had a family function to attend and decided on a colourful dress. I had absolutely no idea how to work my make up around a colourful dress as I wanted the focus to be on the dress itself. I decided to take two colours and aim for the smokey effect by including a silver colour on the outer corner. I ended up creating the same look, with a bit of purple on the centre of the lid.
Here is how it turned out...

My hair looks so short here! 


Happy Faces! :) 
Hope you enjoyed reading is extra long blog post today! There's more to come...I have a large stack of photos to put on very soon!!
Melissa xox

Monday 14 March 2011

Blog post very soon!

Hello!
Just letting you all know that I've created a few looks, the last few days and I plan to be putting them up very soon. Uni and work is making free time almost non existent, so getting a spare minute to blog is getting tricky! There are lots of different looks I've been thinking about which will to go up on my blog soon. I would really appreciate some feedback-especially about layout and if what I'm talking about makes sense! If you have stopped by, welcome and thanks! If you could leave a comment that would be much appreciated, so I can tailor my blog so other people can enjoy it as much as I do. :) Also, feel free to give me a bit of a challenge! I'm always up for new  ideas and looks! I had a 'make-up' day with a few friends the other day and we experimented with different eye looks for a couple of hours. It was so much fun! Photos and news as to what we created will go up within the next week.

That's about it from me...stay tuned heaps more to come!
Melissa xox

Thursday 10 March 2011

What To Wear...To Work Part 2

Hello!
When I get ready for work, there is a large part of me that wants to create a daring and dramatic look. I love thinking about colours and which ones compliment the other, however, working with children often has it's boundaries as I'm limited in my 'experimentation sessions', which often happen on the weekends when I go out. I wore the bronzed look the other day to work, which suited my personality and work's expectations as well. Today, however, I had absolutely no desire to experiment or play with my eye make up in any way. After waking up early to complete some errands and going to uni for a couple of hours, the thought of going to work wanted me to get back into my pj's and dream a dreamless sleep. I love my job, but today unfortunately was one of those days. I had no desire to create a make up look, so today's look is devoted to being natural make up. :)

I applied my foundation, concealer, pressed powder and bronzer (I'm quite pale, so I like having a little colour on my face) and was confused as to what to do with my eyes. I just decided to apply Mac Paintpot in Painterly and some mascara. Painterly, as I have mentioned before, is not only useful as a base, but is also a great natural eye shadow. I love using it, because it evens out my skin tone. If I don't apply anything on my eyes, but apply foundation on my face, the skin on my eyes appear different (and looks strange) to my skin. Painterly is an easy solution to sort out this problem out and it just takes literally 5 seconds to apply.

The moral of the story (yes there is a moral to this blog) is to embrace your natural beauty. There's nothing more attractive then smiling and being yourself. Playing with make up should be fun and not a requirement in order to look beautiful.

I hope you enjoyed reading and as always, stay tuned because there will be more to come. :)
Melissa xox.

What To Wear...To Work Part 1

Hello!
Hope you're all well. :) I've been thinking about doing a wearable look for work, that is not too dramatic, yet still stands out. Some of the products I used are optional, as the base eye shadows I used provided more depth to the eye make up.
This is how I created the look...

1. Apply a base to ensure the eye shadow lasts as long as possible. I used Mac Paintpot in Painterly.

2. Select the colours you wish to use. I decided to use Maybelline Marbleized baked eyeshadow in Bronze Blowout and used a lighter and darker brown colours as base to make the Maybelline shadows stand out.


These colours look much more amazing in real life. My camera does not do them justice. 

3. Apply the light brown colour on in the inner corner and the dark brown on the outer corner-this creates the 'smokey' effect.

4. Blend these colours together, so there are no harsh lines.

5. Apply the Maybelline eyeshadow duo. The 'marble' colour, should be placed in the inner corner and the darker colour placed on the outer corner. The product has a lot of glitter or 'sparkle' in it, so it's a good idea to apply foundation AFTER you're finished...saves you the trouble of wiping away excess eye shadow. Blend the eye shadow again, until you're happy with it.

6. Choose a white eyeshadow colour and dab this near the tear duct on the upper lash line and lower lash line. This will brighten up your eyes. I have an obsession with using white when I'm creating bronzed looks, the white colour stands out so much more!

7. Line your upper lash line (and lower lash line if you wish). You can either use black or brown eye liner. I have used both before, and both have worked well. For this look, however, I chose brown.

8. Add mascara and you're done!

In terms of the face, I use Mac concealer, the Body Shop foundation and Revlon Bronzer and Blush duo. When I wear this look, I tend to think less is more, so I rarely apply a lot of blush if my eyes are slightly dramatic. The same applies for the lips. A nude or pink shade of lipstick or lipgloss will work lovely. :)

Thanks for reading today and I hope you enjoy the finished product. There's more to come so stay tuned!
Melissa xox.


Tuesday 8 March 2011

Purple look

Hello! 
Yes I know it's not a very creative name,  but I had trouble classifying it as a smokey look as it didn't really turn out like that. I love working with purples, especially putting different shades together and I'm pretty happy how this one came out. Please let me know what you think! You're suggestions and comments are most welcome! 


1. To start, I applied a base. I used Mac Paintpot in "Painterly". It's a natural shade, so you can also wear it as an eye shadow as well. The paintpots also work well as a base and help make your eye shadow last longer. 


2. I applied a highlight colour (just any white colour you have is fine!), in the brow bone and in the inner corner. I hope you can see it in the pictures, but it should open up your eyes. I personally think it helps me look more awake! 


3. The three purples shades I used were from coastal scents 88 matte palette, they don't have specific names to identify them, but in the pics I've drawn (very bad) arrows, to show the colours I used. 


4. I then placed the lightest colour on the inner third of the eye, the middle colour on the middle third and the darkest colour on the outer corner. I've been experimenting with purple eyes a lot, so if you want to make this look dramatic and smokey, add some black in the outer corner (not too much though) and this should darken the look. 


5. To ensure that there were no harsh lines, I used my Mac blending brush. Make sure you blend away! 


6. To line the eyes, I just used a black eye shadow and a liner brush. Feel free to use liquid liner, as this can also make the look more dramatic. 


7. I used each of the purple colours again and lined below my water line. 


8. Add mascara and you're done! 


I hope this was helpful, if you haven't tried something like this before. I wanted to do something that wasn't too involved or dramatic. I'm not particularly outgoing when it comes to make up, but it's always fun trying different looks and stepping outside your comfort zone! 


I am yet to understand the whole blogging process and I'm still working on organising a particular format so my Blog is clear to read. 
Please let me know what you think, if you have any suggestions/comments-let me know! Like I keep saying, I'm always open to your advice and opinions. 


I hope you enjoy the photos and have a lovely day! 


Sunday 6 March 2011

Musical endeavours

Hello! 
Today I've been fiddling around with my make up collection and put together a purple eye look. Photo's to go up soon! I'll let you know the products I've used and the steps to create this look. I'll provide an in depth description, once I've uploaded the photos! Let me know if you have any suggestions to further enhance the quality of this look or other products that can produce a similar outcome. I'm open to any suggestions! If there's a particular look that you want me to try, I'll give that a go too. :) 

Make up isn't my only passion. I also have a passion for music. I started learning piano when I was seven years old and ever since then, I have progressed and currently I am preparing for my Amus. For those that don’t know, I’ve done all my exams and this is considered to be an associate performance exam. It’s a pretty daunting task, so I’m very nervous! To ensure that I pass, I have to perform four pieces and be familiar with the composers, the pieces themselves as well as the development of the piano. I'm hoping to sit it in a couple of months. At the moment, I don’t feel particularly ready for it as I want to make sure I pass! I keep reminding myself not to listen to the things that people say to me when I tell them I’m sitting for my Amus. “I know this friend who got amazing marks at university, then sat their Amus and failed.” Comments like those always worry me as I don’t want to keep sitting the exam over and over again! I have prepared for this exam for almost a year and a half and my fingers as well as my brain are exhausted. Having said that, I absolutely love the pieces I’m playing. They are physically and emotionally draining BUT they delightful to play. I guess you can say that I’m performing the big works by the big composers. Bach, Beethoven, Rachmaninoff and Grainger. Each composer is so different to the other and it’s so important to be able to change your character when performing, as each composer was born in a different era. I’m still working on my musicality to ensure that I interpret each piece correctly but I feel as though I make slight improvements every day.

I’ll keep you updated on my musical endeavours. I love being able to reflect on my life and assess how I’m travelling, particularly with my music.
Let me know if you have any musical experience, I love meeting new musos! Ha ha.
More to come so stay tuned! :)
Melissa xox

Saturday 5 March 2011

Hi and Welcome!

Hello!
I never thought in my 20 years of living that I would create a blog. When I was in high school, I didn't even know what concealer was, let alone what foundation was used for. Once high school was over and my university life began, my free time was mainly spent on youtube. It was here that I stumbled across some make up tutorials. Most of which allowed me to understand the purpose of concealer and foundation as well as other products that I never knew existed. I was quickly captivated, engaged in a world of colour and blending. Lots of blending.  After two years,  I am here today, wanting to share the love I have with make up and how it has the potential to transform a person's face. I want to show the world the looks I come up with, in the hope that someone else may find them remotely interesting and endeavor to try it themselves. I am by no means a professional make up artist, and have a limited collection for someone who is supposed to be "make up obsessed". I am someone who loves to learn and continuing learning, regardless of how much I know. To this day, I continue to look at those youtube videos and other make up blogs for inspiration.
If you happen to find this blog, a massive welcome to you! This is my official first post and I am very excited to make my page look as interesting and pretty as possible (I am not technically savvy so please bear with me!).
More to come so stay tuned. :)
Melissa xox