Thursday 30 June 2011

Out and about...

Hello!
Hope you're all having a fabulous week! This post isn't exactly about any particular make up look I've created but rather just some pics of what I wear when I go out. :)

I had a movie date with my boyfriend and was in the mood to do my hair, so I used my straightener to create beachy waves. If you want to know how I did it, let me know, I'm more than happy to do a tutorial! (I've been considering demonstrating through vlogging...)

I wore a blue green elbow length top with a leather jacket (one of my favourites), with my favourite pair of jeans!
Ok so those boots I'm wearing are probably my favourite boots I have ever worn. They are a perfect fit and they pretty much go with anything. Boots are generally pretty expensive, but if you want something that you can dress up and down, you really can't go wrong! I got these boots from Wittner.

As you can see, I just went for a simple brown and gold smokey eye...they seem to be my 'go to' colours this year...


Hope you enjoyed this blog post! I have a haul coming up soon and more make up looks. Feel free to make requests or ask questions/comments/anything! :)

Melissa xox.

Tuesday 28 June 2011

Rainbow Inspired Eyes

Hello!
This week I was surprised at the amount of sunshine we have been experiencing this week in Melbourne and I began thinking about the fact that I haven't seen a rainbow in so long! It has to be the only part I like, once the rain has fallen. (The wet roads are always such a hazard!) I was inspired to create a rainbow look...even though I have missed some colours!
I used three colours on the lid and the same three colours on the lower lash line. I applied black eye liner to the upper lash line and water line and of course mascara!

On the lips, I just applied a shiny lip gloss as I wanted all the attention to be on my eyes!

You can really use any colour to create this look...you can even try the other half of the rainbow! Before I started blogging, I created a look with yellow/gold on the inner corner, orange in the centre and pink on the outer corner. If you have any of the coastal scents 88 palettes or other eyeshadow palettes, you can really tailor this look to suit your eyes and complexion :)

 In this photo...it looks like I applied some yellow on the lower lash line (or maybe it's just my eyes!) I did just use green though! So, if you were thinking about using yellow go ahead...it'll probably turn out really well!

I hope you enjoyed this look! It's always fun to try something with extra colour. If you have any suggestions or even celebrity make up you would like me to try, please let me know, and I'll be more than happy to give it a go!

There's plenty more to come so stay tuned! :)
Melissa xox.

Tuesday 21 June 2011

From Day to Night

Hello!
So today I thought I would show you how I go from day to night makeup. A few weeks ago, I had an event that I had to attend during the day and then went out at night with my lovely boyfriend. My day make up was very plain, as I used natural brown eye shadows and white eye liner on the waterline.

If you use a light brown or gold colour on the inner corner and a darker brown on the outer corner, you really can't go wrong! This look is appropriate to wear out most places, and I often wear this look to work, as it's quick and really easy. :)

I look really tired in all these pics and I don't know why!!


Night Makeup:
It's hard to tell on that angle the difference between day and night. I only darkened the eye shadow on the lid.
As you can see, I added a shimmery gold colour on the lower lash line, which gave it that extra sparkle! I also added black eye liner-which is really the defining feature I use when going from day to night.
Another important feature to consider is using a primer on the lids to ensure the eye shadow lasts as long as possible. I never used to use an eye shadow primer and particularly in places (or climates) where I may sweat a lot, the primer really does come in handy! If you want your eye shadow to last from day to night, primer is really important. I use Mac paintpot in painterly (which I have mentioned in most of my blog posts). I plan on purchasing some more makeup very soon and I'm keen on getting a cream based eye shadow in different colours. I believe this can also be used a base! 

Hope you enjoyed this blog post! Feel free to make suggestions, comments-anything! I'm happy to hear your feedback! :) 

I'm going to turn on the heater because it's so cold today!! 
Melissa xox. 


Monday 20 June 2011

Using your pigments-Foiling

Hello!
So I finally found those photos I took using my pigments! Yay!

Today, I'm just going to give a brief description of another way I use my pigments. This technique is called foiling (because it creates the look of tin foil!) and when I was researching how to do it, I came across SO MANY youtube videos. So if you need a visual, just typing in foiling and pigments and you should find something. :)

For this look, I used one pigment colour: MAC Melon. (It's so pretty!)

In order to create this look, I used three colours. A light gold colour on the inner corner of the eye, Melon in the centre and a darker brown on the outer corner. I applied it in the middle as I felt the reds and golds were slightly darker than the gold colour I used on the inner corner and thought it would be a good colour to transition from the lighter golds to dark browns.

Here are the steps I took to apply the pigment to the eye:

1. Firstly, I took a paper towel and lightly wet it with warm water. I then took my brush  (a flat shader brush is easiest as it can pick up the colour much better than other brushes). and brushed it across the paper towel so that it was damp.

2. Wipe off the excess water (as excess water can seep into the brush and damage the ends=brush hairs may fall out!)

3. Place brush into pigment jar. Tap off the excess on the side of jar and press the brush up against it, so the powder sticks to the brush.

4. Apply to eye. Use a patting motion rather than a sweeping motion as this will reduce fall out.

Having said that, I am still fairly new at this, so I still had A LOT of fall out. At first I was little disappointed when watching the youtube videos as when they were applying their eye shadows they hardly had any fall out. So don't feel disheartened because it just takes practise! I feel a lot more confident with it and sometimes I just think fall outs are bound to happen regardless of how talented you are! So make sure you have make up remover handy!


I hope this was helpful for those, who like me until fairly recently, stayed away from pigments just because they were loose and seemed super scary! If you have any additional questions please let me know, I'm more than happy to answer anything!

Many more NEW looks to come, including another haul post (yes I've finally bought more stuff!!), which shall be coming very soon!

Hope you're all having a fantastic week. :)
Melissa xox.

Monday 13 June 2011

Golds and Purples Part II

Hello!
Hope you're enjoying your weekend, and for those in Melbourne-you're long weekend! I was lucky enough to have the day off uni today so I thought I would make the most of it and edit aspects of Beautiful yet basic. As you can see, I have a different background. I loved the one I had previously, but thought it was time for a change. If you have a blog and would like an interesting background, check out shabbyblogs.com-they have so many different backgrounds to choose from as well as other fancy things for your blog! :)

In other news, I would like to apologise for my delay in posting the pigments tutorial with a wet brush. I had a really cool look using my copper pigments and somehow I can't find the pics anywhere! But do not fear! I will be using those pigments very shortly. I have many more looks, which are ready to be posted, so I'll post those first.

Today, I wanted to show you a look I created a few months ago. My brother had recently turned 18, so we thought we would celebrate by going out to dinner. I thought it was the perfect opportunity to dress up and do my make up-as well as wear an ultra pretty headband!

As you can see, golds and purples are the main colours in today's look. It was super easy to achieve as well!
If you apply the light gold colour on the inner corner, the darker gold on the middle of lid and the purple on the outer corner, you should be able to achieve this look. You can also apply black eye shadow on the outer most part of the eye, to further intensify the look.

This look is probably more appropriate for night as black eye liner helps the purple stand out!

Don't forget to apply the same colours on the lower lash line, as this will complete the look and frame the eye.


If you have any further questions, please don't hesitate to ask! I'm trying to branch out and try different things, to keep my blog interesting but if you have more ideas please contact me at beautifulyetbasic@gmail.com, ask me on twitter @mgmusic91 or just leave a comment in the space below!

Thanks so much for taking the time to read-I really appreciate it!

Melissa xox.

Monday 6 June 2011

Two Simple Brown Looks

Hello!
Yes, I am back again...I'm on a bit of a roll! Today I wanted to show two different looks using brown eye shadows. I know I use a lot of brown eye shadows, but this is just to demonstrate different combinations you can use. :)

Look 1:
 This took literally five minutes to put together. The camera does not do it justice unfortunately.

I firstly applied a white colour all over the lids and brow bone, then applied a light brown shade on the lids. I added mascara and then I was done!

Look 2:
As you can see here, I applied a white colour in the brow bone, then applied a bronze colour on the inner corner and a chocolate brown colour on the outer corner. It's that easy!

Hope you enjoyed these looks-they were really simple, so if you're in a lazy mood, feel free to try these combinations!

Have a great night! Another blog post coming your way soon!
Melissa xox.

Sunday 5 June 2011

Purples and Blues-Using your Pigments

Hello!
Hope everyone has been well! As you're probably aware, I have taken some time off blogging as I wanted to focus more on my music and my university studies. Due to all the stress however, I am now sick! So while I am sitting in bed, I thought it would be a great opportunity to come back to blogging-for good! I will definitely let you know next time if I require another break. It won't be for a while!

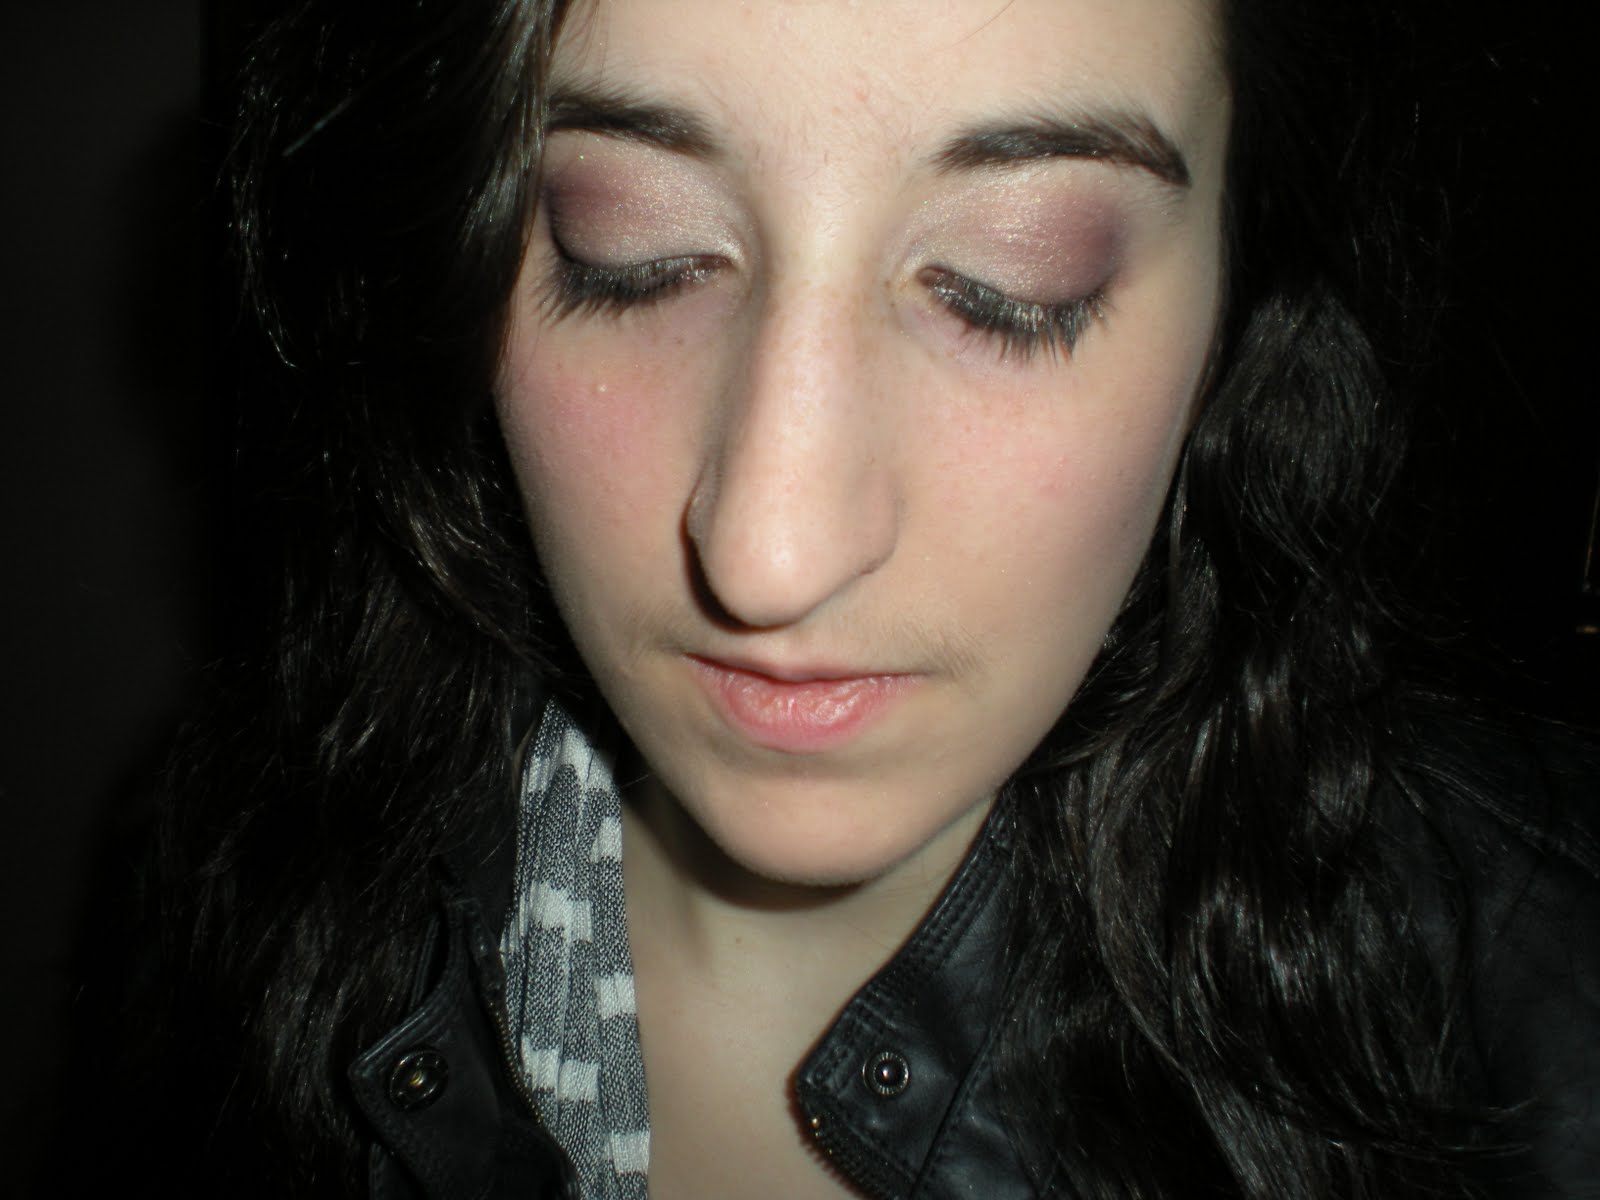
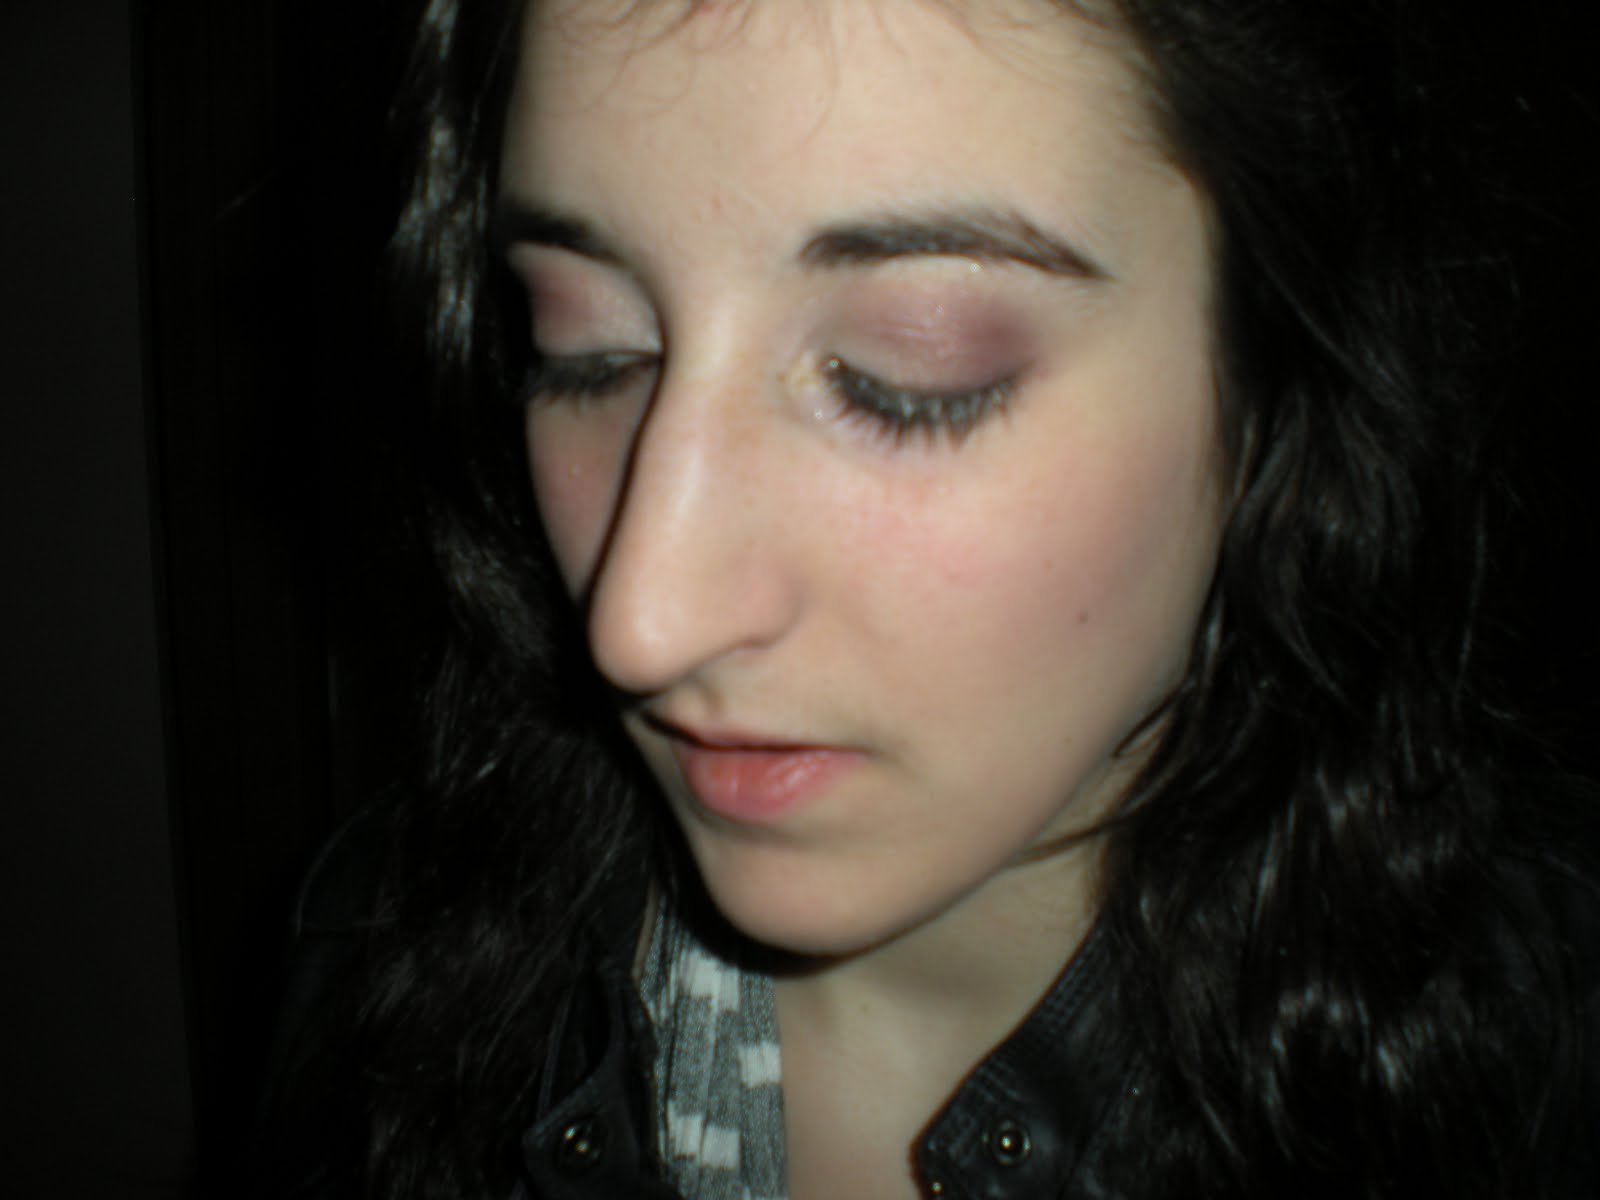
Finally, here is a look I created using my pigments!
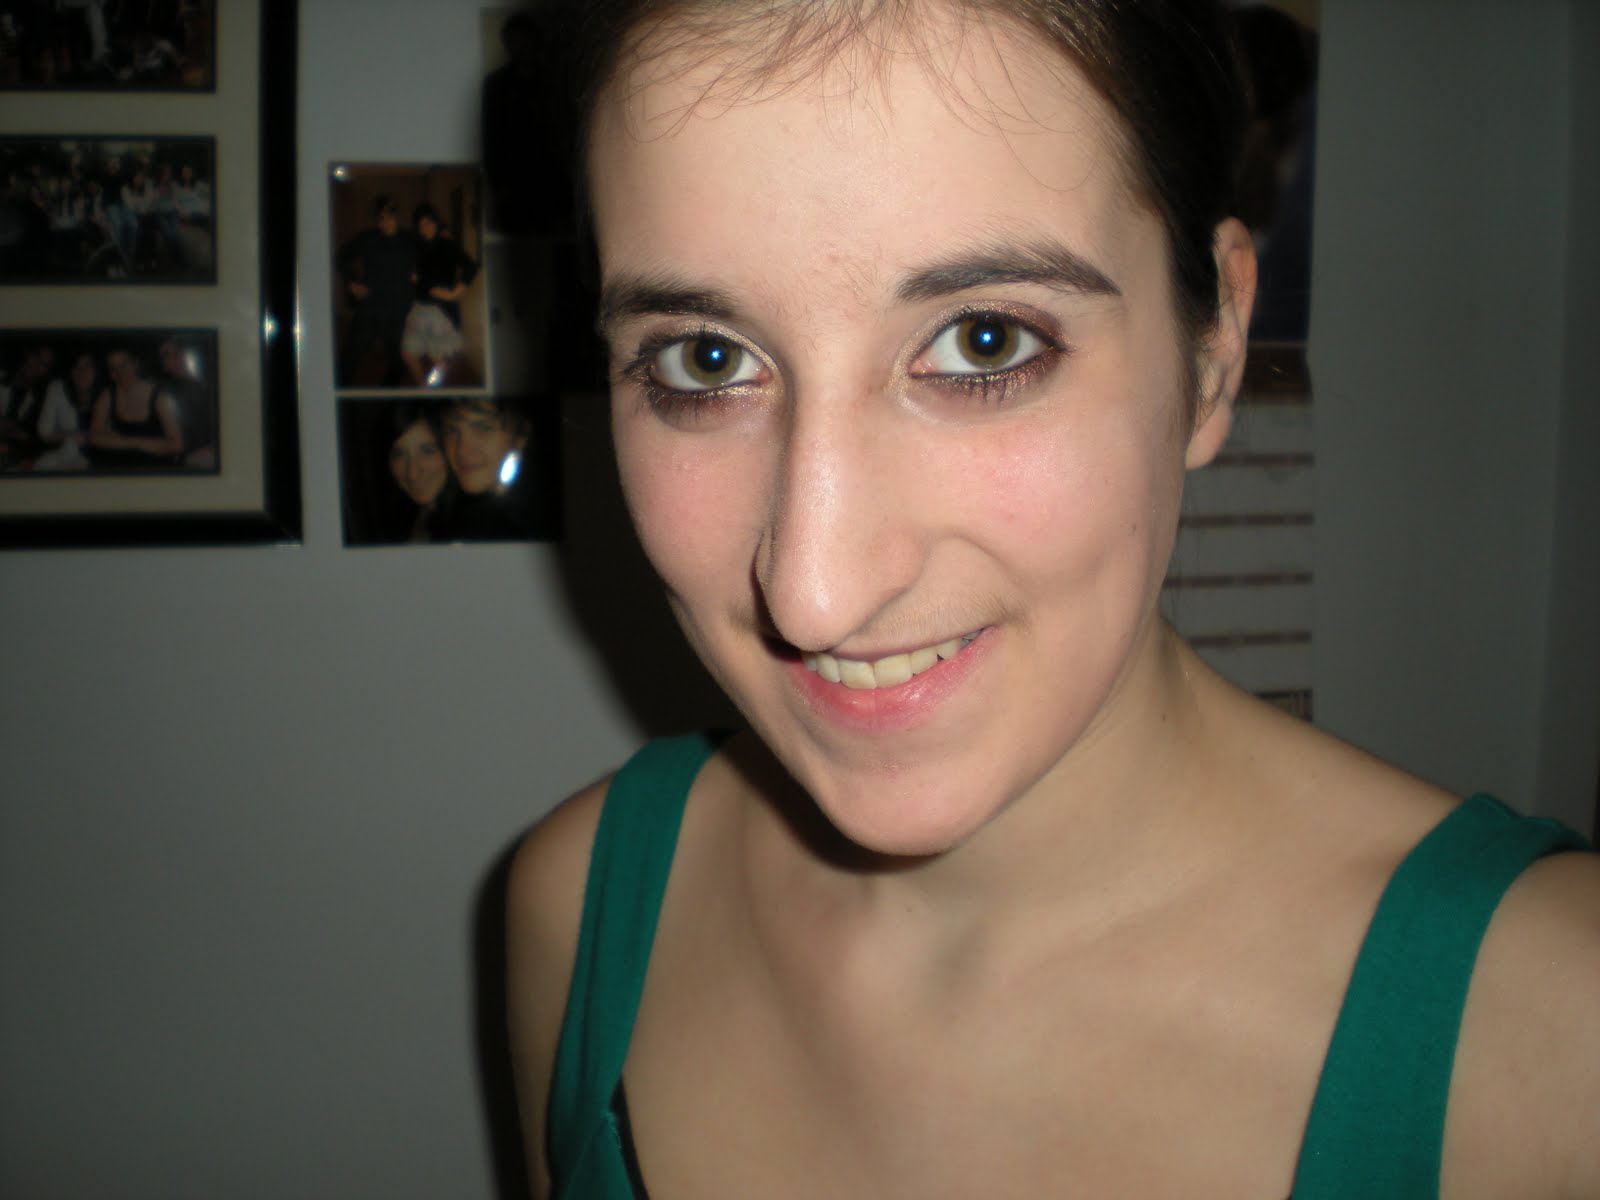
From a distance...


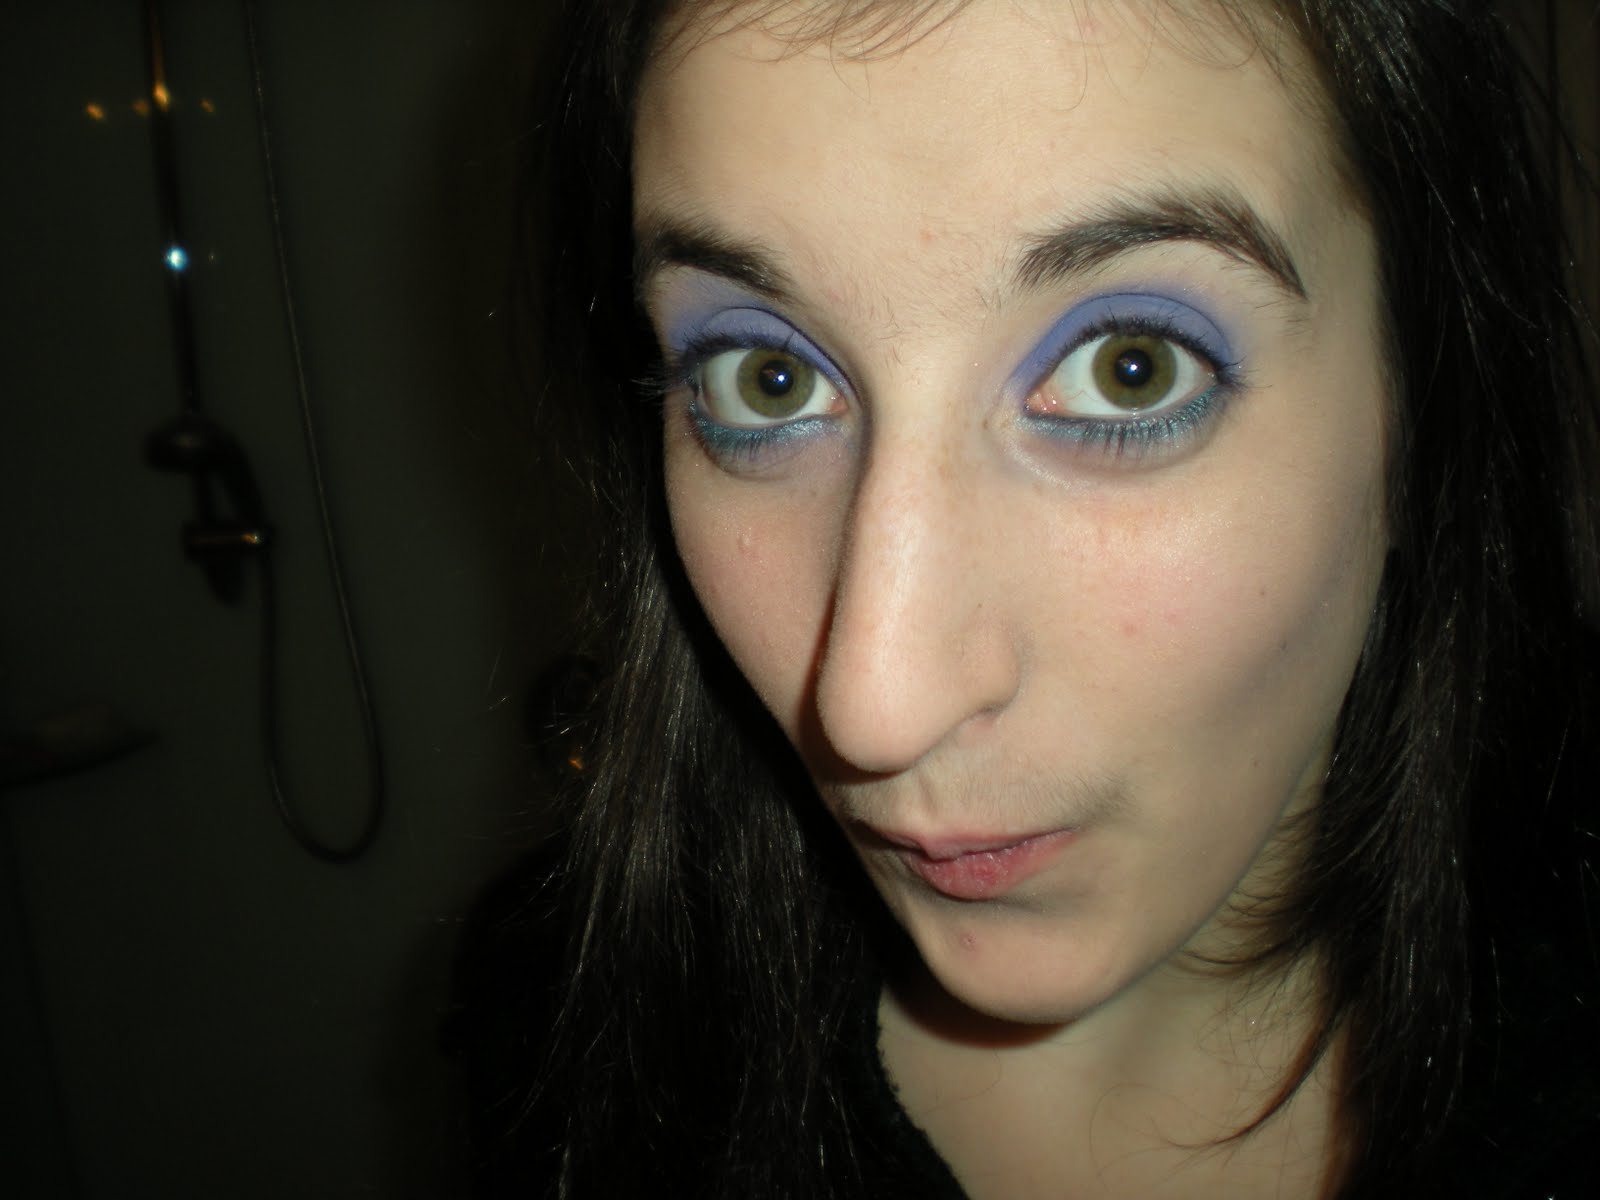
As you can see I only used a purple colour (Mac full forge violet) on top of the lids and a blue eye liner on the waterline. I used a similar colour on the lower lash line, to finish off the look.

If you're unsure of how to apply pigments, there's one thing you should be aware of: EXPECT FALL OUT. There's nothing worse then putting so much effort into your skin care routine and foundation application, to them have to wipe it all off because of eye shadow fall out. To avoid this, I always apply my skin care products and foundation/bronzer/blush last as I usually have to clean my face after finishing eye shadow application. Pigments cause even more fall out than regular eye shadow as they are a loose powder.

There are a few ways you can apply your pigments. You can either apply with a damp or dry brush. I used a dry brush for this look as this was my first experiment. If you google foiling, there are many tutorials on how to apply your pigments with a wet brush. I will also go over this in my next blog post. :)

Steps to apply pigments:

1. Make sure your brush is clean. You don't want other colours falling into your pigments!

2. Place your brush into your pigments. Once you've done this, press the brush against the tip of the jar, to ensure the powder sticks to the brush.

3. Tap of the excess into the jar.

4. Apply on the lid. Be sure to use a pressing motion on the lid, rather than a sweeping one as fall outs are more likely!

5. Build up the colour until you are happy with it.

That's all it is! The wonderful thing about pigments is that you don't have to use them as eye shadow. I've seen them been used in lipgloss, blush and many other things (including interesting options like using it with a mixing medium to add a different colours to your hair!).

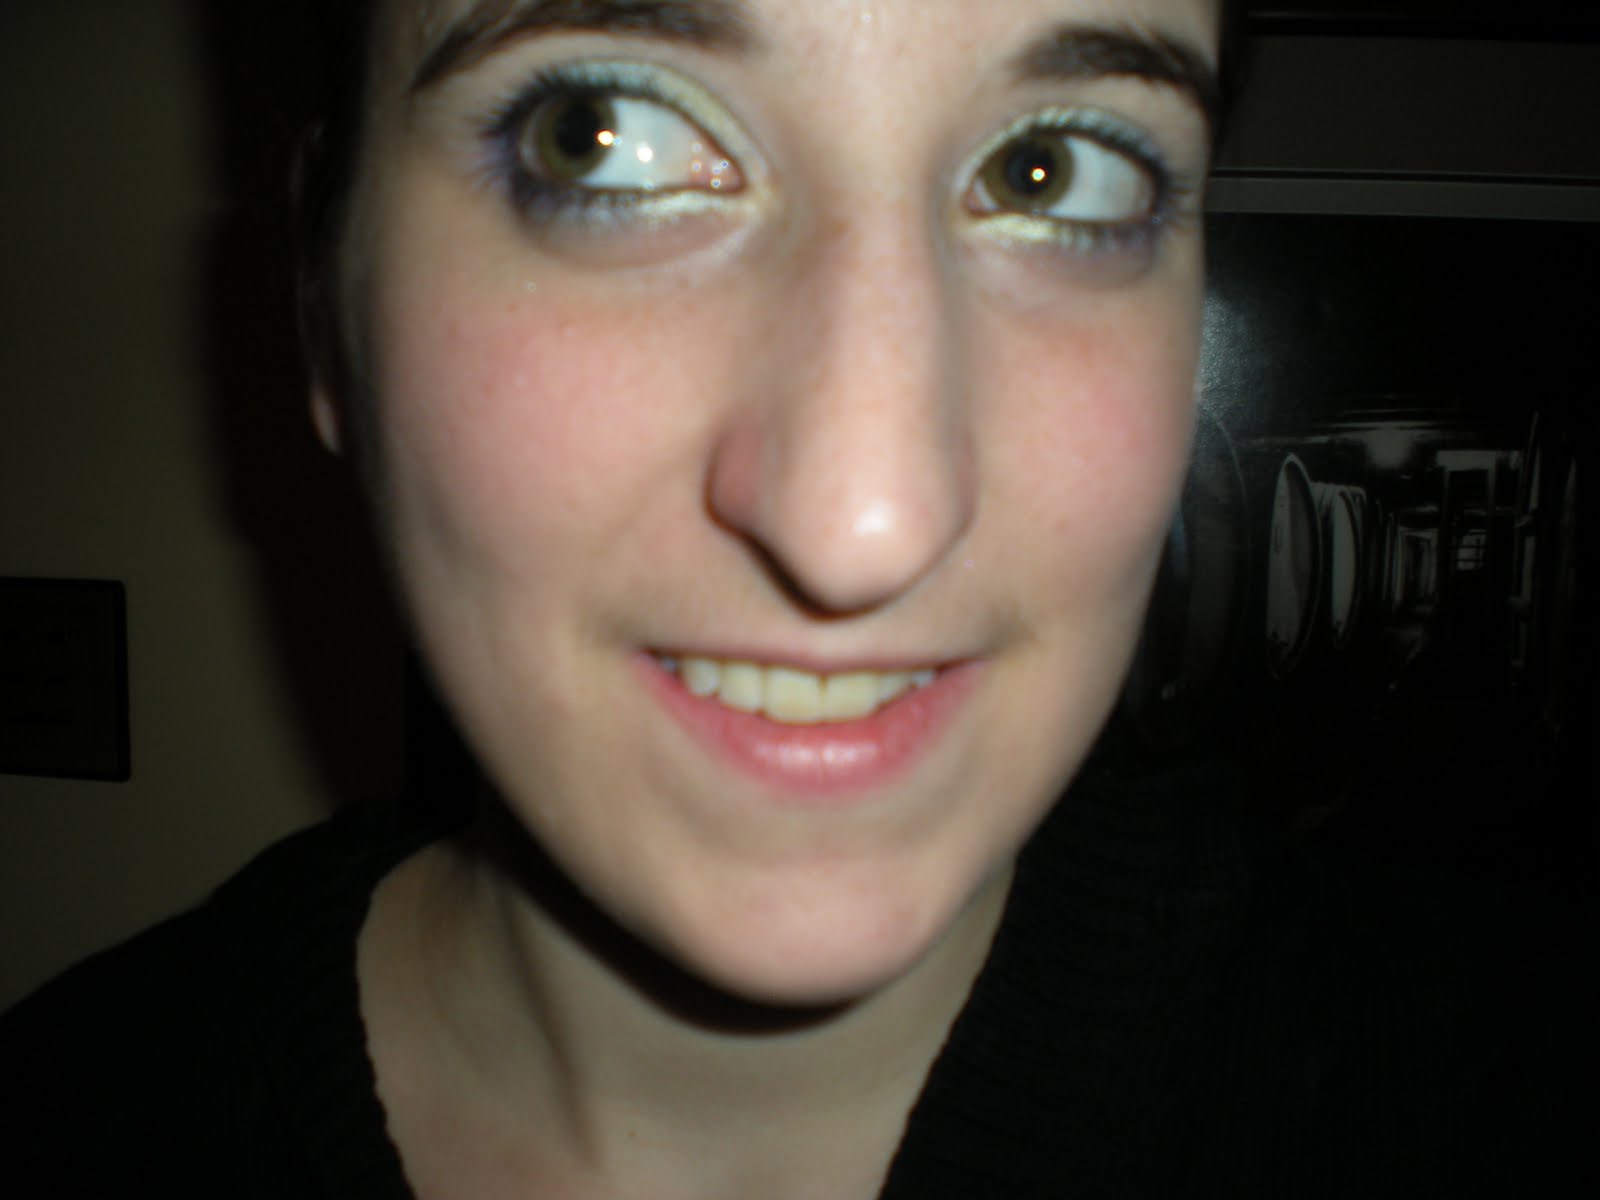
 I enjoy being silly sometimes :P
I hope you enjoyed this look! Once again, I am sorry for leaving for an extended period of time, but I needed some time off-but I'm back for good!
If you have any questions/comments/suggestions feel free to post in the comments section or you can email me directly at beautifulyetbasic@gmail.com or you can ask me on twitter! @mgmusic91

Have a lovely night and I shall be posting again very soon! :)