Monday 16 May 2011

Gold, Blue and Aqua...

Hello!
I'm sorry for the delay in blog posts...last week was probably the most stressful week of my life! Uni had me working hard so I've been trying to stay a float with all the work! I'm back and happy to show you this really cool look I tried a few weeks ago...

I must mention that this look isn't my own personal creation. I watch a LOT of youtube videos as I want to keep learning and improve my skills. I came across Julie G 713 and instantly loved her tutorials. She not only covers make up, but has done tutorials on hair and nails as well!. Julie used pigments to achieve this look. I did not have pigments at the time, so instead I used my shimmer palette, hoping I could create something similar!

If you check out her video, she will provide you with all the steps. The most important thing to remember when trying this look is to leave space in the centre of the lids for the gold colour. If you apply the blue all over the lids then the gold on top, it will definitely look weird!


I'm sorry this pic is on it's side...in my folder it's the right way up but when uploading it, it rotated itself around! Strange! I just wanted to show you a close up. :)

I hope you enjoyed this look-it was really fun trying to create it! For all the info on how to achieve this look, be sure to type into youtube "Julie G 713" and find the Metallic Aqua Eyes tutorial.

In other news, I left a comment on my haul post but it seems to have disappeared! I had a question asking me about primers. I have mentioned in several of my blogs that I love using primer as it helps the eye shadow stick and last longer. Thus, it is one of my essential products that I make sure I have. I use Mac Paintpot in Painterly as my eye shadow primer. I don't consider it to be a traditional primer as it can also be used as a cream eye shadow. In my own experience, Mac paintpots work really well, as my eye shadow stays on longer than if I didn't use one. These retail from about $35-40.

I have not had much experience with other primers, but I am aware that the urban decay primer potion is quite effective. You can purchase this from ebay or from the Urban Decay website. Some of my friends have purchased the coastal scents primer and loved it. This can be purchased from their website. They are based in America, so the postage might be as much as the product. Having said that, I believe that those primers are about $15...a bit of a bargain!

If you're strapped for cash, then liquid foundation may do the trick! Liquid foundation provides the eye shadow with something to stick to. I have also used this before I purchased Mac paintpot and it also worked well. :)

Hope that helps! I have a few tutorials coming up on different looks using my new pigments so stay tuned for that!

Melissa xox.

Tuesday 10 May 2011

IT'S HAUL TIME!

Hello!
Yes, it is time to show you the awesome new stuff I bought! I know I mentioned it a long time ago, but taking pictures took a lot longer than I originally thought! Enough chatting here are my most recent purchases...

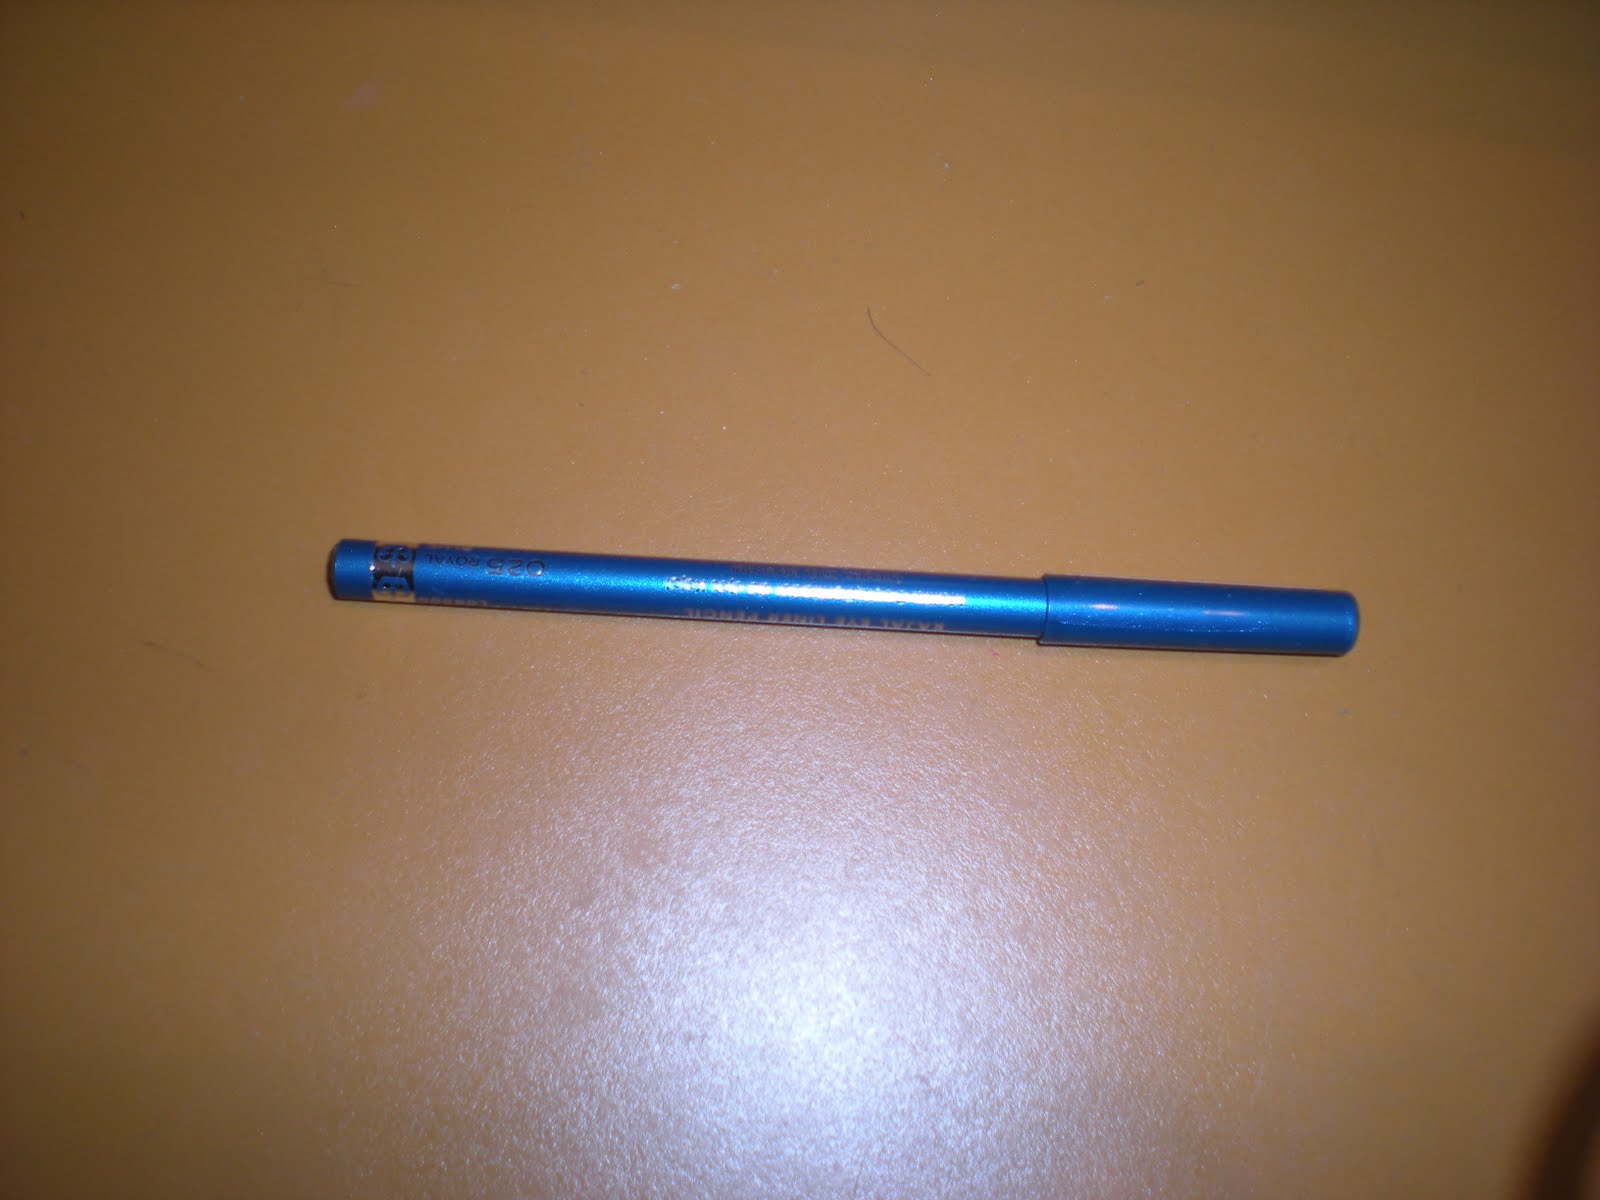
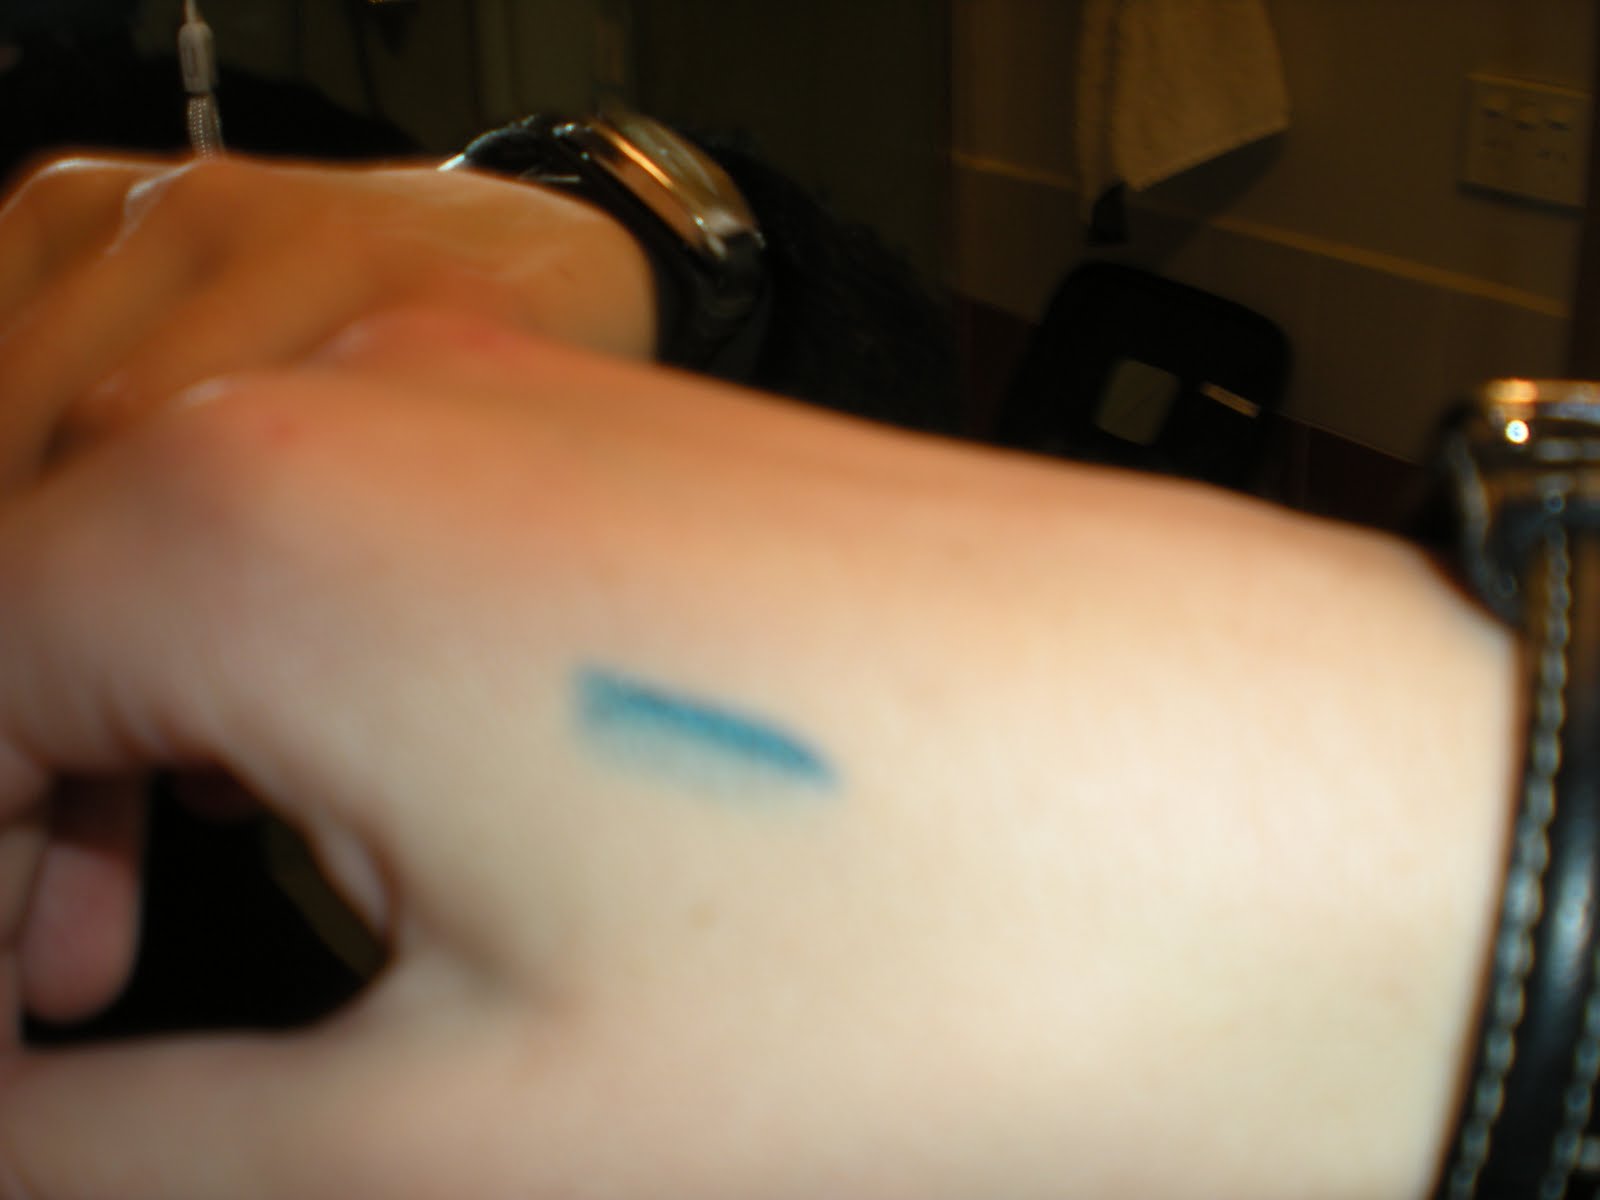
1. Even though I am new to the blogging scene, I am also new to the beauty scene. This time last year, I didn't own black eye liner and wasn't even sure how to use it! It's safe to say that my knowledge of make up and beauty related products have developed rapidly. I decided that it was time to continue growing and exploring and thus I went to priceline and purchased a Rimmel eye liner, in Royal Blue 025. This is a beautiful colour will be demonstrated in an upcoming blog post. If you're after something with a 'smudger'...this doesn't have one, but other Rimmel eye liners do. It's very soft and easy to apply-so if you're afraid of hurting or tugging at your eye, try this brand. :)


As you know already, my camera doesn't take the best pictures, but I think it captured what it needed to, in this case. 

2. I was in need of new mascara, and was happy with my old Maybelline mascara, so I decided to stick with the same brand. I have never owned a waterproof mascara, so I wanted to observe the difference. If you would like me to do a review, just let me know as I won't be providing one here. 


Having said that, I would like to add that the wand of this mascara is rather interesting! This wand is particularly helpful and practical in terms of application. 

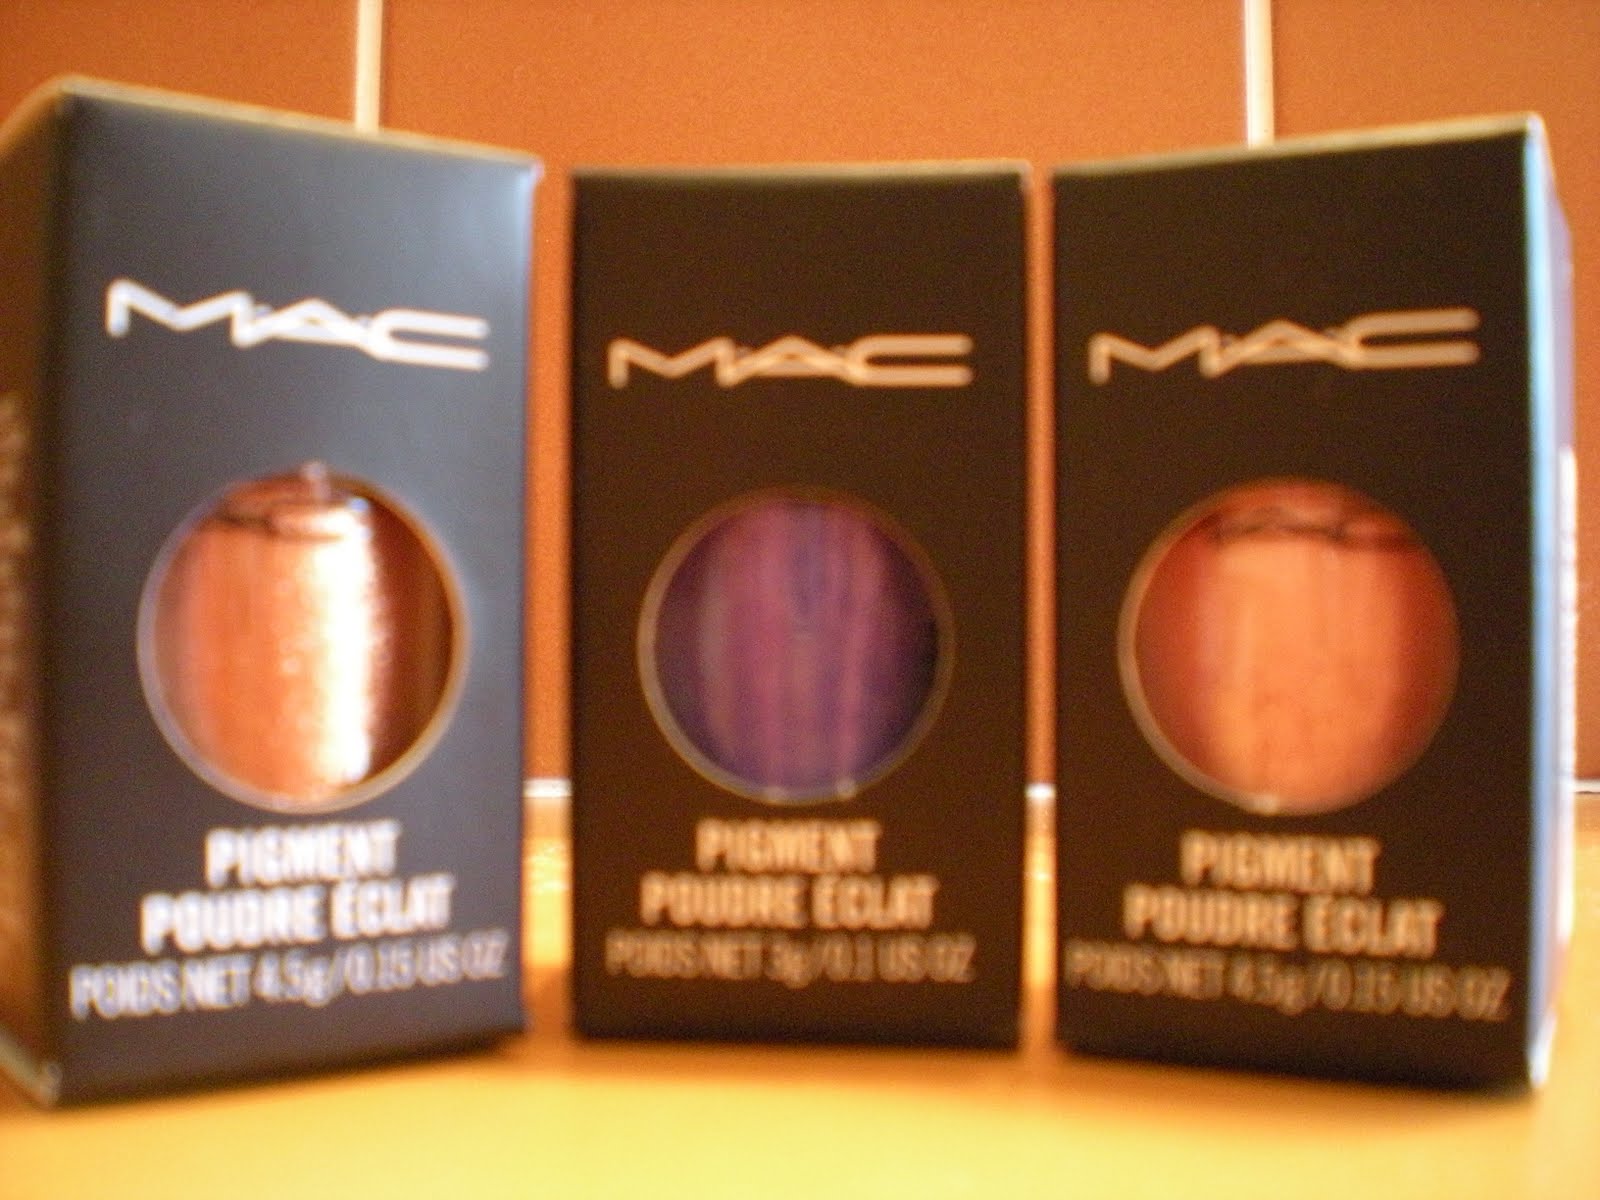
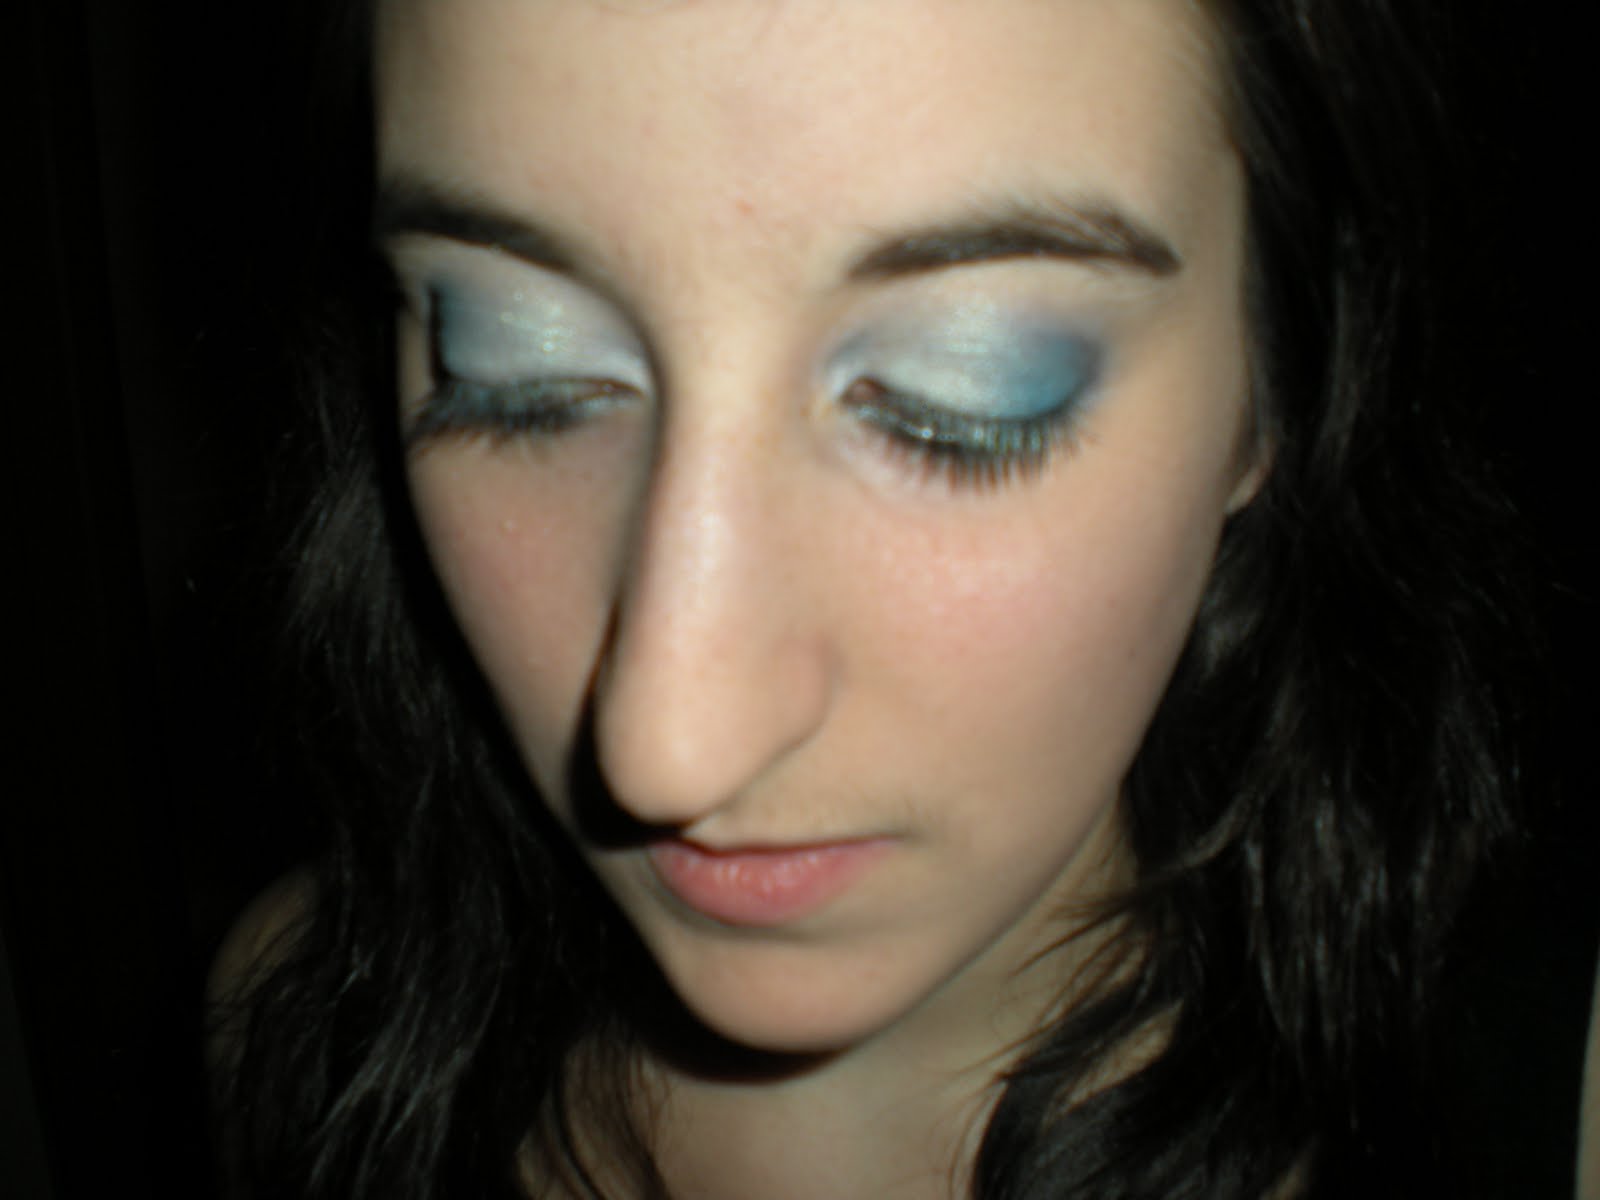
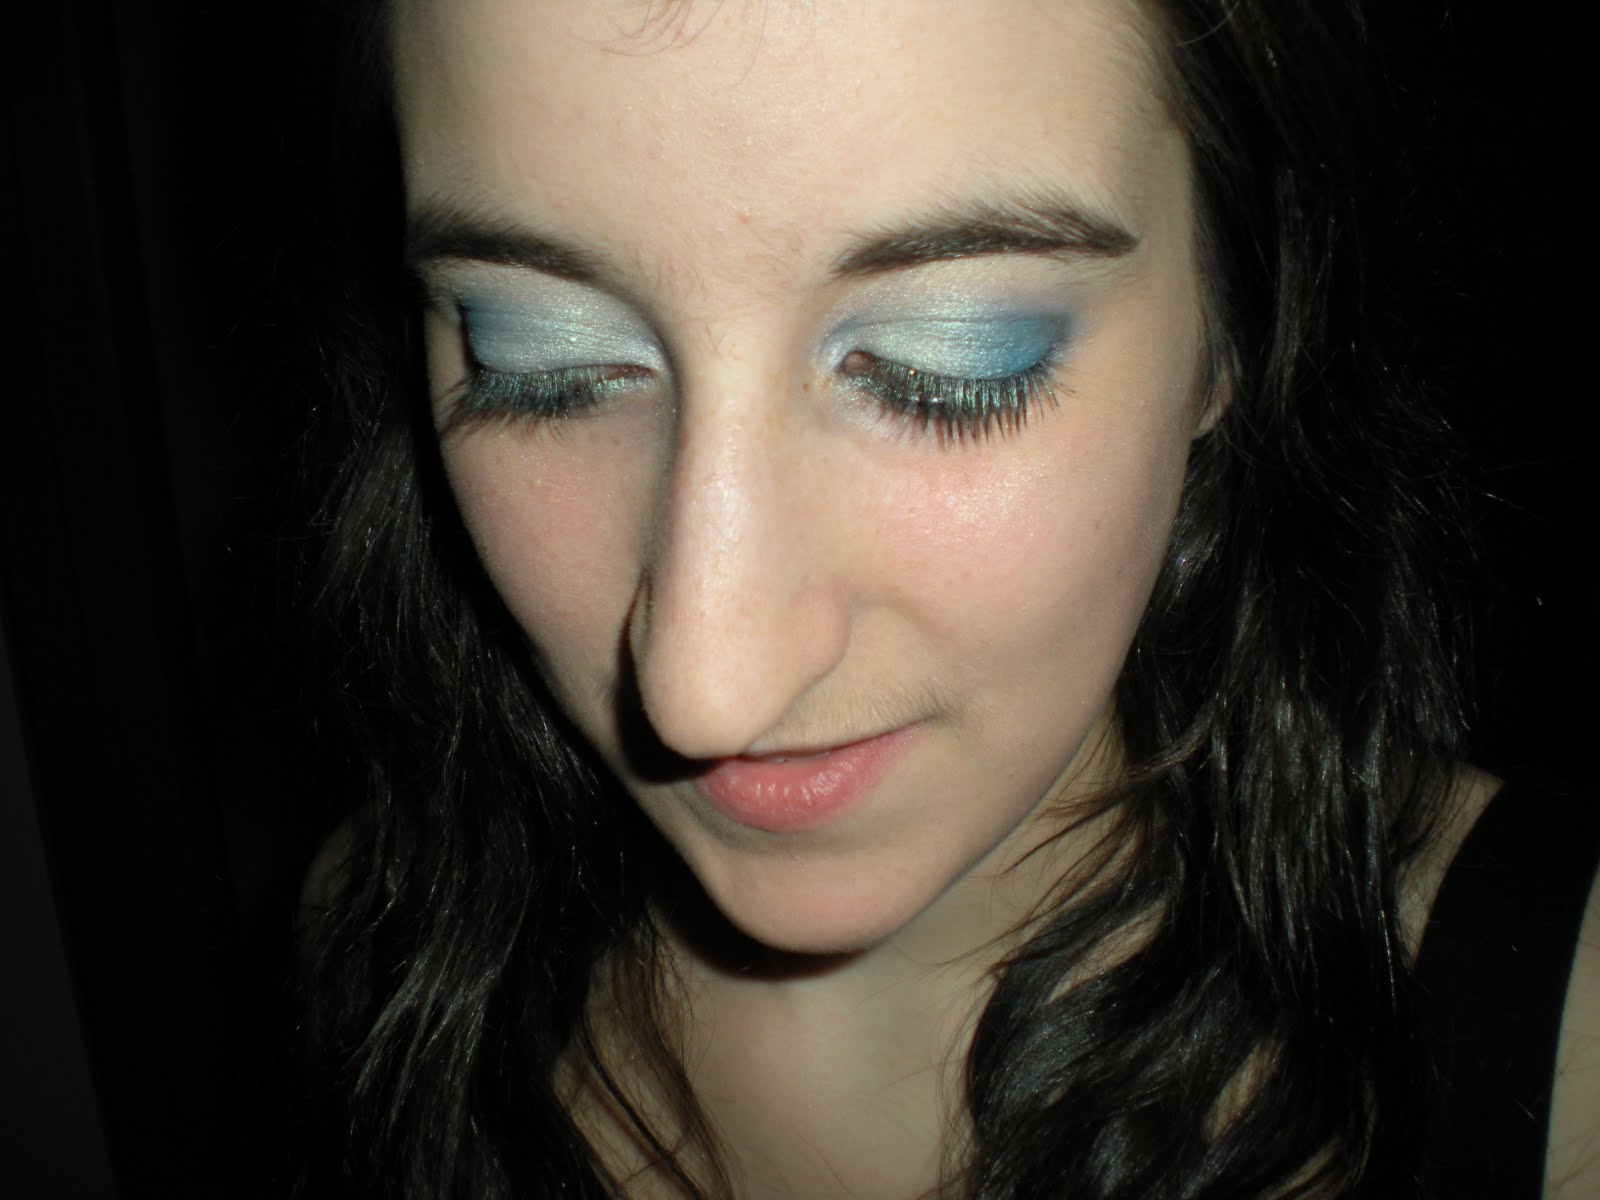
3. This purchase is probably my favourite of them all! I finally have pigments! MAC pigments! Excited is clearly an understatement for what I felt when I purchased these items. I bought three colours, copper sparkle (on the left), full forge violet (middle) and melon (right). These colours are so rich, bright and beautiful and I know they will take a while to get through! Full forge violet is a matte colour, while the other two are shimmer pigments. I will upload a few different looks using the pigments and if you're unsure of how to use them, I can always do a tutorial-so let me know! :)
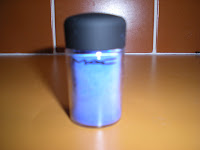


Full forge violet
        Copper Sparkle
Melon
 4. Last, but certainly not least is a perfume product! I rarely purchase new perfumes, but I thought it was time for a new one. It took a long time, but I finally decided on Lola, by Marc Jacobs. Before this perfume, I didn't have much of an idea of who he was. I know, I've probably been living under a rock my whole life but I did know that he is a designer. I had always been a fan of his other perfume, "daisy", but when smelling the scent, it reminded me of a friend (is that just me? haha) so I wanted to purchase something that different! 

I then stumbled upon Lola! According to the Lola website (yes there is a whole website dedicated to this perfume!) the scent is described as: "sexy with a fun flirtatious wink. A warm floral bouquet with a signature note of luscious Fuschia Peony. Designed by Marc Jacobs as an over-the-top bouquet exploding from the bottle" ...and there is literally a bouquet of flowers exploding from the bottle. Although I have some trouble relating to "sexy with a fun flirtatious fun wink", I do see what the designer was hoping to achieve. It is quite floral, with an underlying musk that makes it unique from other fragrances. 

For those who are interested...
Top notes: PINK PEPPERCORN, PEAR AND RUBY RED GRAPEFRUIT
Heart notes: ROSE, FUSCHIA PEONY AND GERANIUM
Base notes: VANILLA, WARM TONKA BEAN AND CREAMY MUSK


As you can see, I not only purchased the 50 ml fragrance, but if you buy the gift pack you also receive the tiny "for your handbag" bottle and the 150 ml 'sensual body lotion'. (I sound like an advertisement...) I am yet to test out the body lotion but as I have sensitive skin, I am slightly concerned as I don't want to irritate my skin...hopefully there will be no dramas! 

That is the end of my very first haul! I hope you enjoyed reading...I know I had a lot of fun buying the products and trying them all out! If there's is anything that you would like to see in particular (in relation to pigment use or more info on the fragrance) please let me know. :) 

There is plenty more to come so stay tuned! 

Melissa xox


Sunday 8 May 2011

Yet another Blue Smokey Eye!

Hello! 
By now, you've probably realised that I have this strange obsession with the colour blue. I don't know why, but when I often where black outfits, my mind automatically thinks "oh hey...let's do another blue smokey eye!" I decided to wear a simple black top and skirt to dancing a few nights ago and decided to try a slightly different smokey eye to the one I completed on my friend, L. 

This is how it turned out...

I decided to see whether it made any difference if I used a matte base eye shadow and then apply the shimmery colours on top. To this day, I'm still uncertain if it had a major effect, however, I did notice that the shimmery eye shadow stood out more than usual, if only slightly. My camera, unfortunately did not pick this up, and so my eyes appeared much brighter in reality! 

The Coastal Scents 88 Matte palette. I only applied three colours-the lighter on the inner corner and the darker on the outer corner. 

The Coastal Scents 88 Ultra Shimmer palette. I used more colours than what is shown, (as I was experimenting at the time) but these are the main colours you need. Start from the top and apply to the inner corner and work your way down. The black should be the very last colour you use! 

This palette is from Maybelline...I have almost used all of the white!
This colour was applied on the very inner corner of the eye. 


I hope you enjoyed this look! I'm aware that blue is often my eye shadow of choice-but it's just so pretty! Please feel free to give me any suggestions of what you would like to see me try (colour combinations...anything really!) I'm more than happy to give it a go! 

I'm hoping my next blog post will be my first haul...I'm still organising pics but I promise it will be up in the next week or so. :) 

Melissa xox. 

Wednesday 4 May 2011

Golds and Purples

Hello!
The other day, I decided to be a little bit adventurous and try to experiment with a few different colours. This is what I came up with...


As usual when I'm trying something new, I hated it and was wondering if it would get any better...but I persisted none the less and I think the colours suited each other well!

This look is extremely simple to achieve! Here is how I did it...

1. Apply a base...like usual, I used Mac Paintpot in Painterly.

2. Apply the light bronze colour on the inner corner of the eye

3. Apply the darker bronze colour on the centre of the lid and blend the two colours together.

4. Apply a violet colour on the outer corner of the eye, then blend all three colours together, so harsh lines are avoided.

5. Apply a dark mauve colour on the outside of the eye, for a smokey effect and blend all colours.

6. Line your upper lash and line and water line with black eye liner.

7. Line your lower lash line with the darker bronze colour on the inner corner and the violet colour on the outer corner. Make sure you blend these too!

8. Apply mascara and you're done!


For lips: I used clear lipgloss and for my cheeks a pink blush that provides you with some natural colour.

I hope you enjoyed this look, please feel free to leave a comment and let me know what you think!

There is plenty more to come, including my first haul!

Melissa xox.

Tuesday 3 May 2011

Liebster Blog Award

Hello! 
I am very proud to announce that I have received my first blogging award! I started blogging in early March this year, so for someone to mention my blog is a great honour-especially after only a few months! Thank you so much to suitcasefullofdreams, I appreciate your kind words and I should also add that your blog is awesome! If you haven't checked it out, you totally should! 


For those who are not familiar with the Liebster Blog Award...


The Liebster Award is designed to bring well deserved additional recognition to those bloggers with less than 300 followers. If you receive the award you link back to the blogger that nominated you and nominate 3 more blogs.


I would now like to nominate three of my favourite blogs that I'm loving at the moment!


runawaywombat: This is not a make up blog, but I love it anyway! Runawaywombat creates all kinds of home goods including aprons and my favourite make up bags and rolls...by hand! She often blogs about her cooking experiences, which are always fascinating to me as I can't cook! 


emmabovarybeauty: A fantastic beauty blog which covers pretty much everything under the sun when it comes to beauty! Her reviews are excellent and extremely detailed. Love it!

beautyscholar: Another awesome beauty blog. One of my favourite things about this blog is the name and it's clear in the way she writes that she knows what she's talking about! In particular, the royal wedding posts were extremely entertaining! 

It's your turn to keep this award going! :)

Once again, I would like to thank suitcasefullofdreams for giving me the opportunity to participate, as I always love talking to other beauty/fashion bloggers about our shared interest of all things make up and fashion. I feel very happy to part of such a nice community! 

Hope you all have a fantastic day. :) 
Melissa xox. 

Sunday 1 May 2011

Bright Blue Smokey Eye

Hello! 
A few weeks ago I had the chance to practise my make up skills on another person! I always find this an interesting challenge as everyone has a different eye shape and different eye shadow colours may suit one person but not another. After my friend, L, chose the dress she was going to wear for a special night out, we decided that a bright blue smokey eye would be a lovely match. 

This is how it turned out...


The colours I used...from the coastal scents 88 shimmer palette


Here are the basic steps I used to achieve this look:

1. Apply a base. If you have a cream light blue eye shadow that can also work too. I used Mac Paintpot in Painterly.

2. Choose a white or silver colour and apply this near the tear duct and along the brow bone, this will be the highlight colour.

3. Choose a light blue/aqua colour and apply this all over the lid.

4. Choose a darker shade of blue and apply this on the centre of the lids.

5. Blend all colours together.

6. Choose a darker shade and start from the centre of the lid and work your way out to the outer corner. This new colour should not cover the colour that was recently applied.

7. Mix a dark blue with a mauve colour and apply this on the outer corner. Taking the smallest brush you have, you can also apply some black to the most outer part of your eye, for a dramatic smokey effect.

8. Make sure you blend!

9. Before mascara, line your upper lashline and waterline with black eye liner and line your lower lash line with three blue colours. Start from the lightest colour in the inner corner to the darkest on the outer corner.

10. Add mascara and you're done!

If you are unsure about what to put on your lips, a pink blush and pink lips will look lovely with these eyes. When wearing bright colours it's always a good idea to stay away from bright lip colours! You always want to accentuate just one part of your face!

I hope you enjoyed this look, L and I had so much fun putting it together and I'm very proud of the results! Please let me know what you think! :) If you have any questions or comments, please let me know in the comments section of this blog!

In other news....I went shopping!! I bought some make up related products (including new perfume!) and shall be doing my first haul very soon! I can't wait to show you all the goodies I bought. :)

Have a great week!
Melissa xox.